

In today's tech-driven world, businesses rely heavily on data to make informed decisions and drive growth. Managing data efficiently and securely is paramount, which is where cloud services like Amazon Web Services (AWS) come into play. AWS offers a range of services tailored to different needs, and one such service is the Relational Database Service (RDS). In this blog post, we'll delve into what RDS is and how to set it up with a Free Tier MySQL instance, alongside an EC2 instance.
What is AWS RDS?
AWS RDS is a managed database service that simplifies the setup, operation, and scaling of relational databases in the cloud. It supports various database engines like MySQL, PostgreSQL, Oracle, SQL Server, and Amazon Aurora. RDS handles routine database tasks such as provisioning, patching, backup, recovery, and monitoring, allowing developers and businesses to focus more on their applications rather than database management.
Task-01
Create an EC2 instance
Go to the Amazon EC2 console.
Click "Launch Instance". Choose a Linux AMI.

Choose an instance type, such as t2.micro. Choose a VPC and subnet.
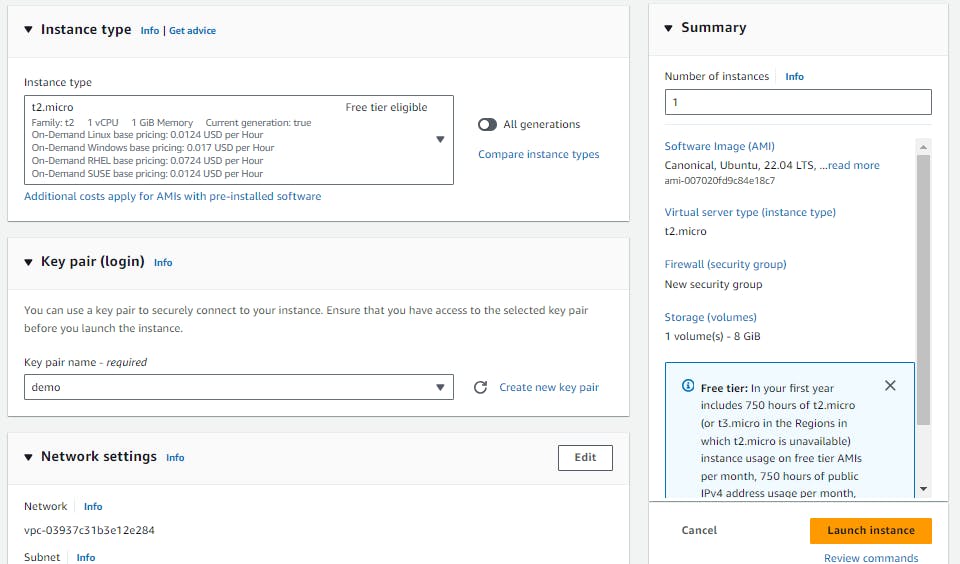
Launch the instance.
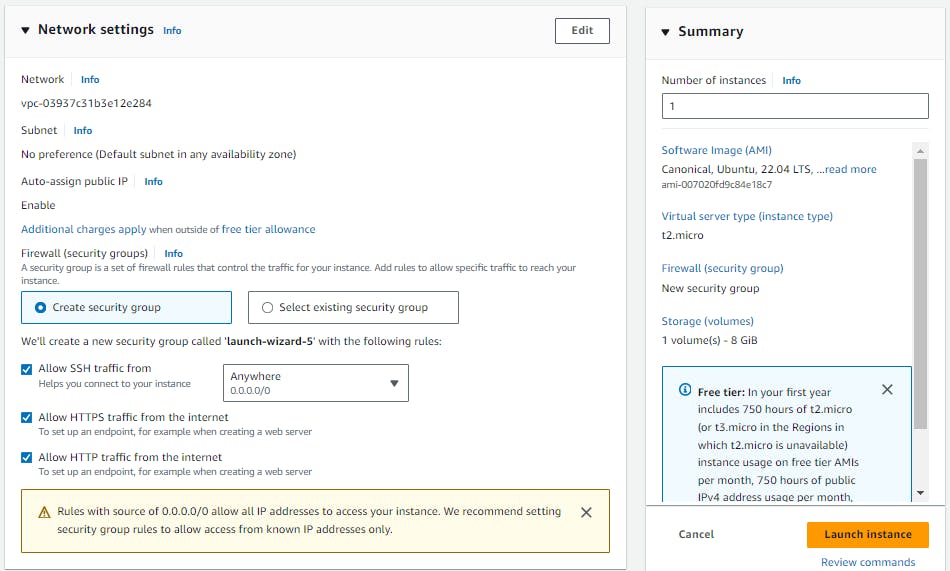
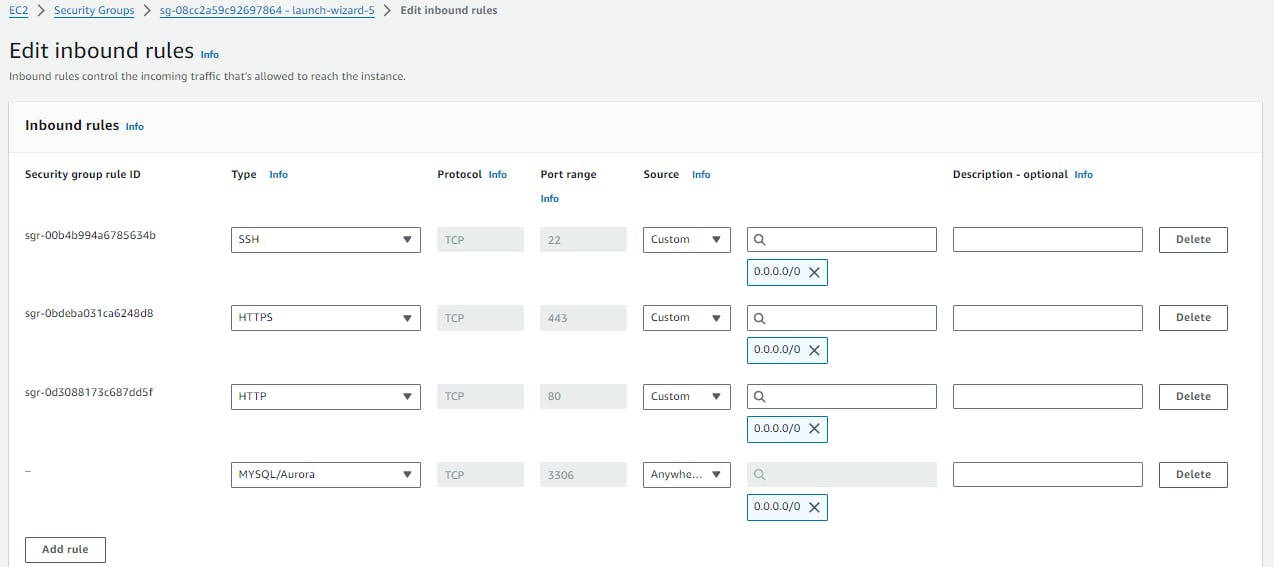
Configure security group rules to allow inbound traffic on the appropriate port for the type of database you are using (e.g. port 3306 for MySQL).
Create a Free tier RDS instance of MySQL
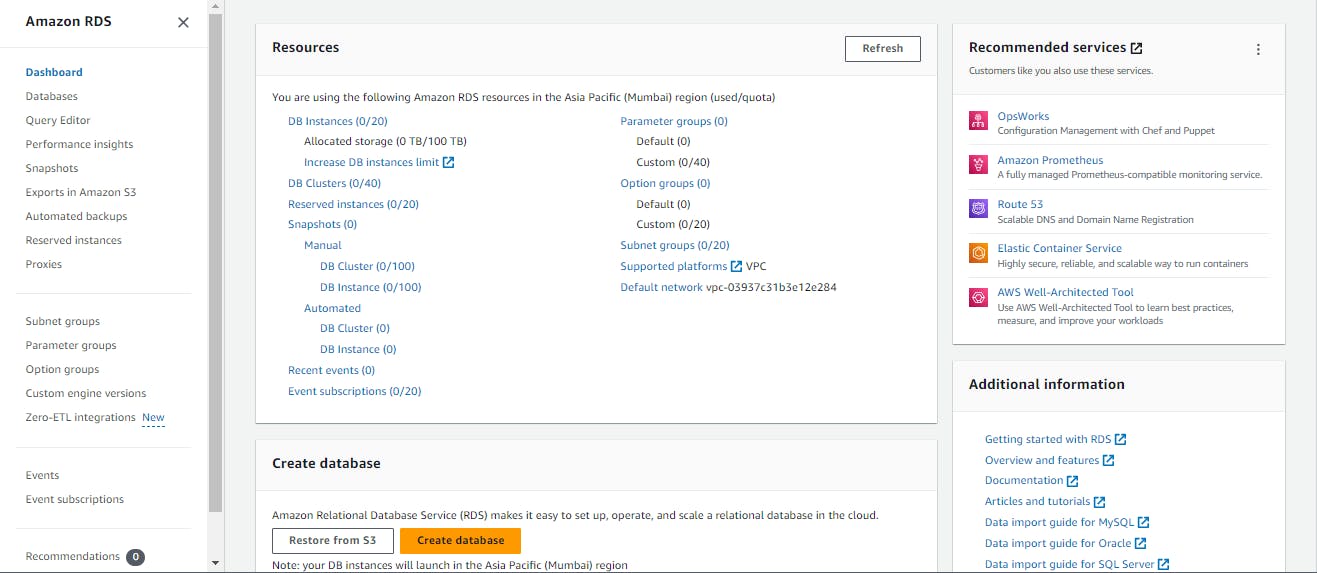
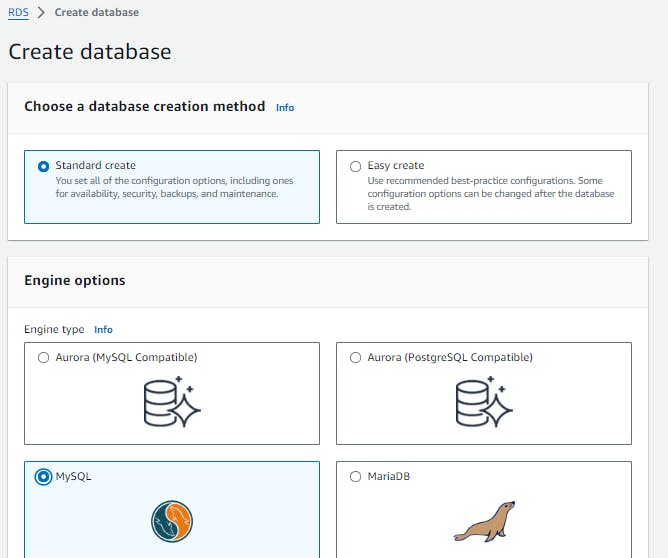
Go to the Amazon RDS console. Click "Create database".
Select "MySQL" as the engine type.
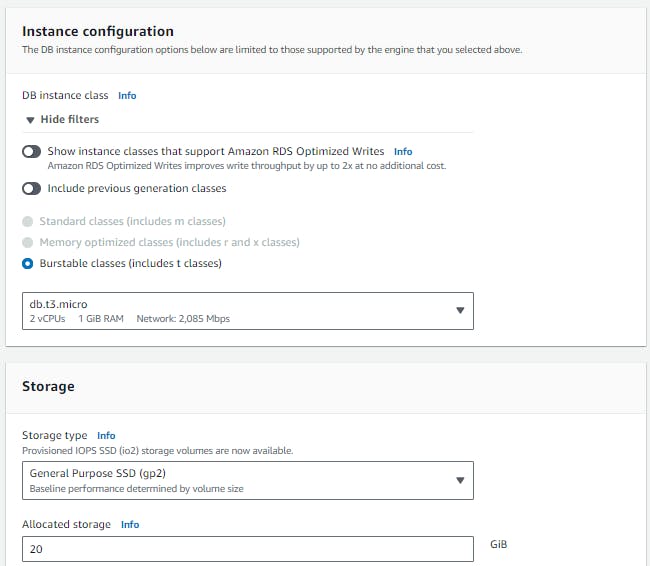
Choose the "Free tier" template for "DB instance class".

Enter a unique name for the "DB instance identifier".
Set the "Master username" and "Master password" for the database.

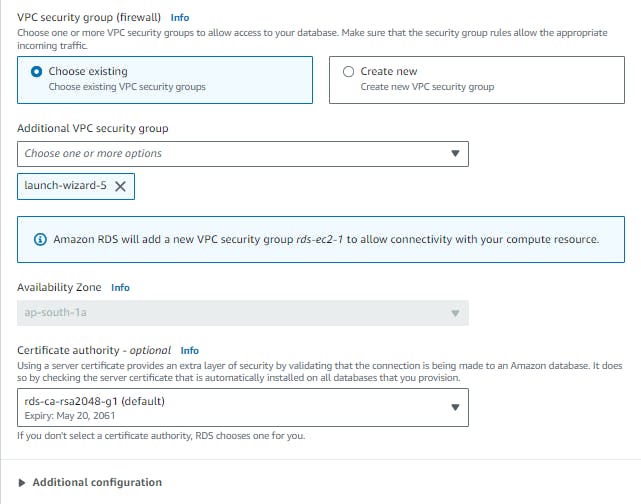
Set the "Virtual Private Cloud (VPC)" and "Subnet group" to create the instance in.
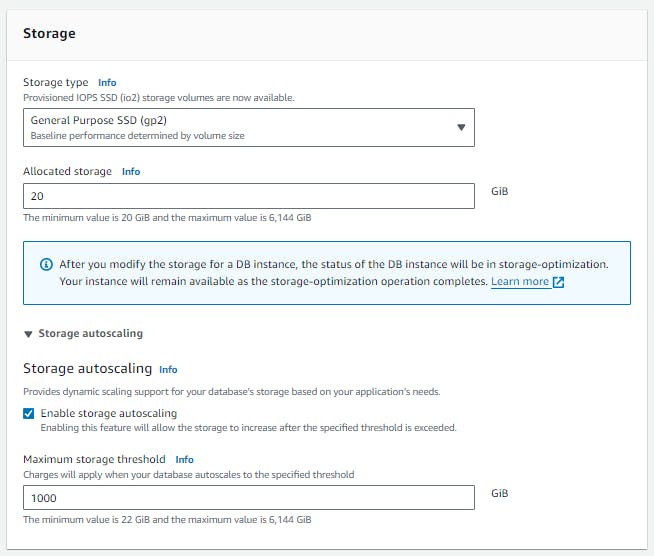
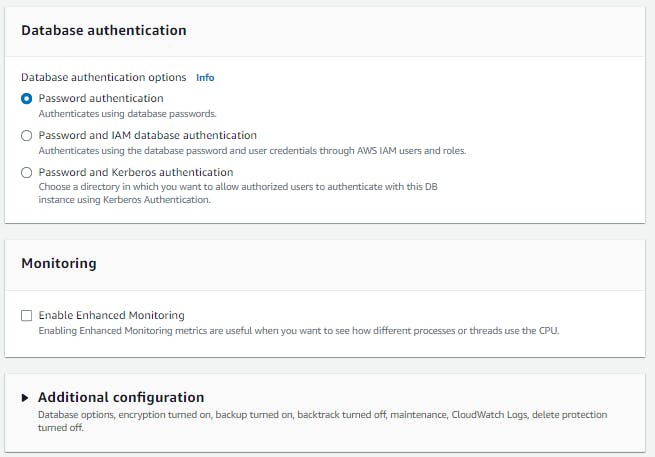
Leave the other settings at their default values.
Select ec2-instance


Choose VPC security group
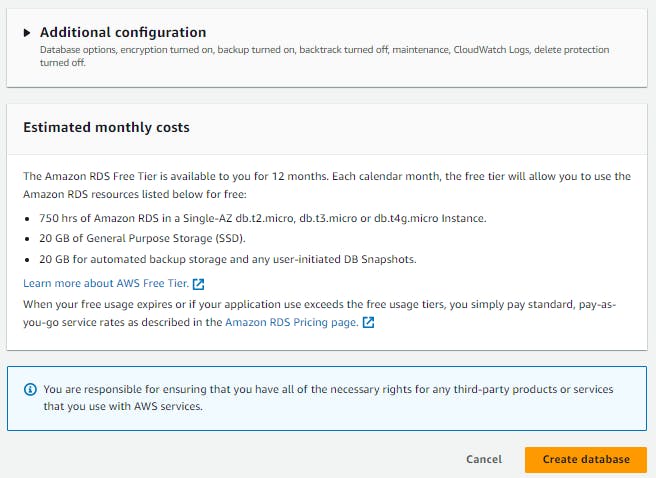
Click "Create database" to start the instance creation.
Database is created.

Create an IAM role with RDS access.
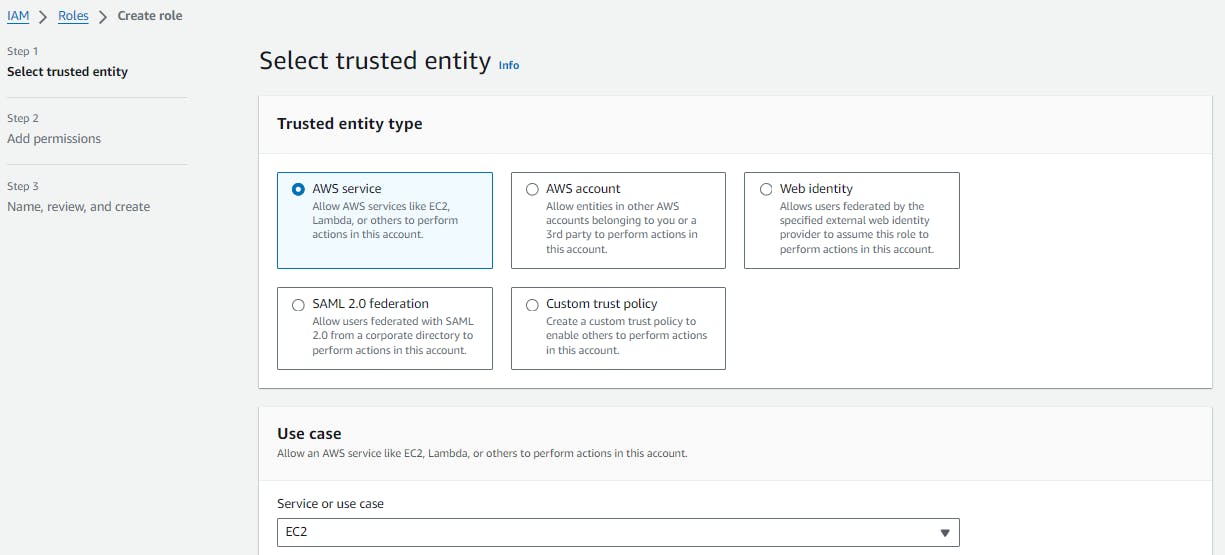
Go to the IAM console. Click "Roles". Click "Create role".
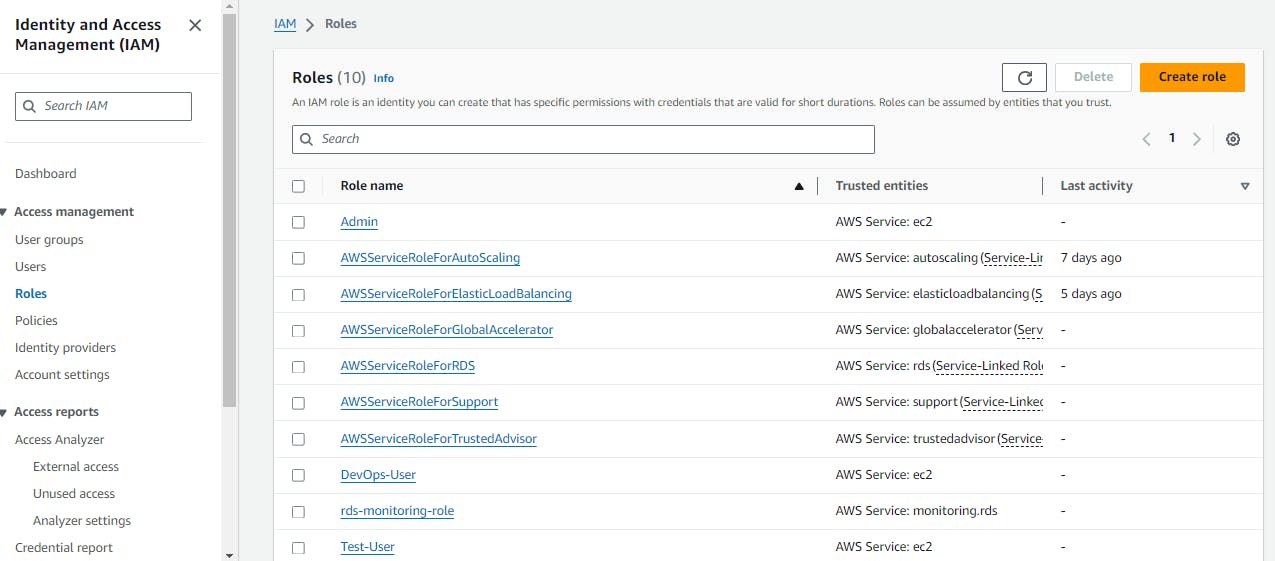
Choose the 'AWS service'.
Choose "Allows EC2 instances to call AWS services on your behalf".
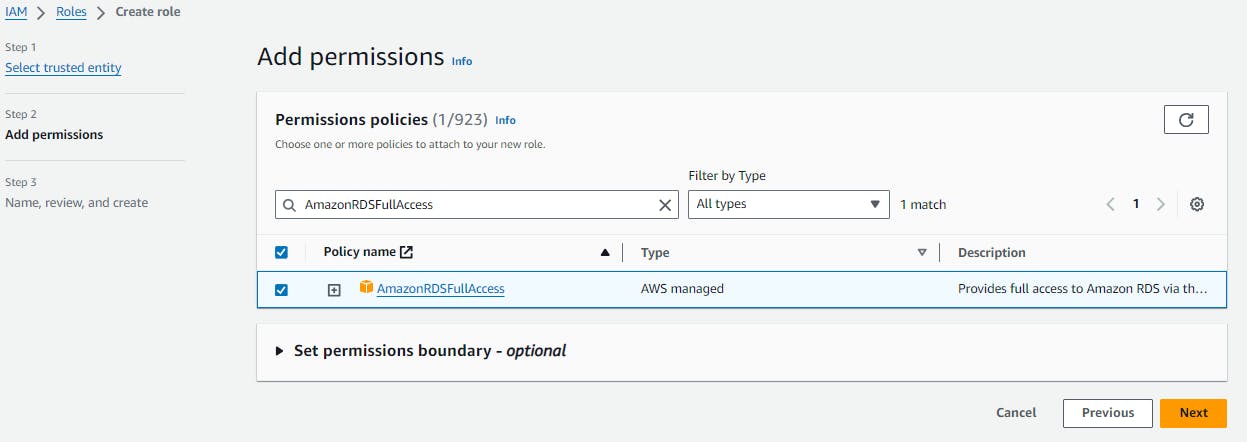
Attach the "AmazonRDSFullAccess" policy.
Enter a unique name for the role.
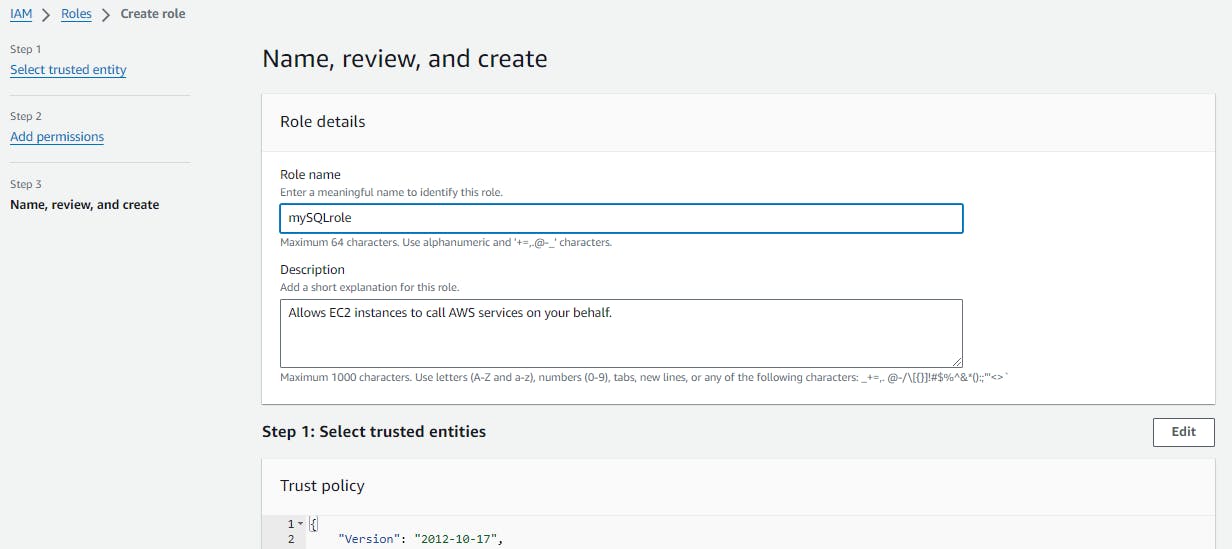
Click "Create role".
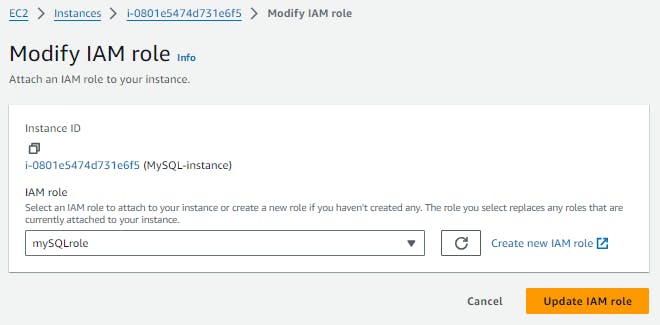
Assign the role to EC2 so that your EC2 Instance can connect with RDS
Go to the EC2 console.
Select the instance you just created.
Click "Actions", then "Security", then "Modify IAM Role".
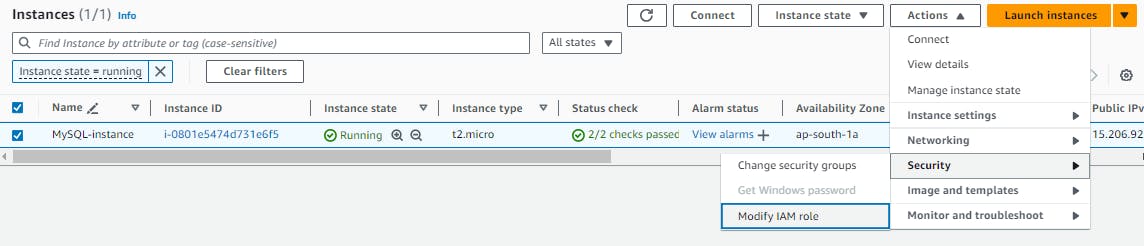
Choose the IAM role you just created.
Click "Update IAM role".
Once the RDS instance is up and running, get the credentials and connect your EC2 instance using a MySQL client.
Go to the RDS console.
Select the database you just created.
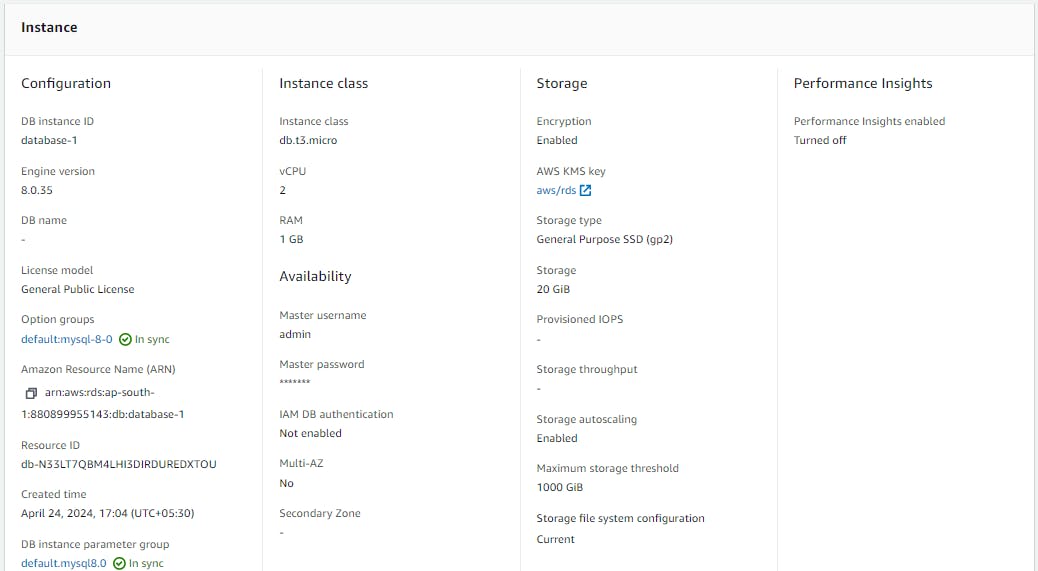
Click "Configuration" and note the endpoint address.
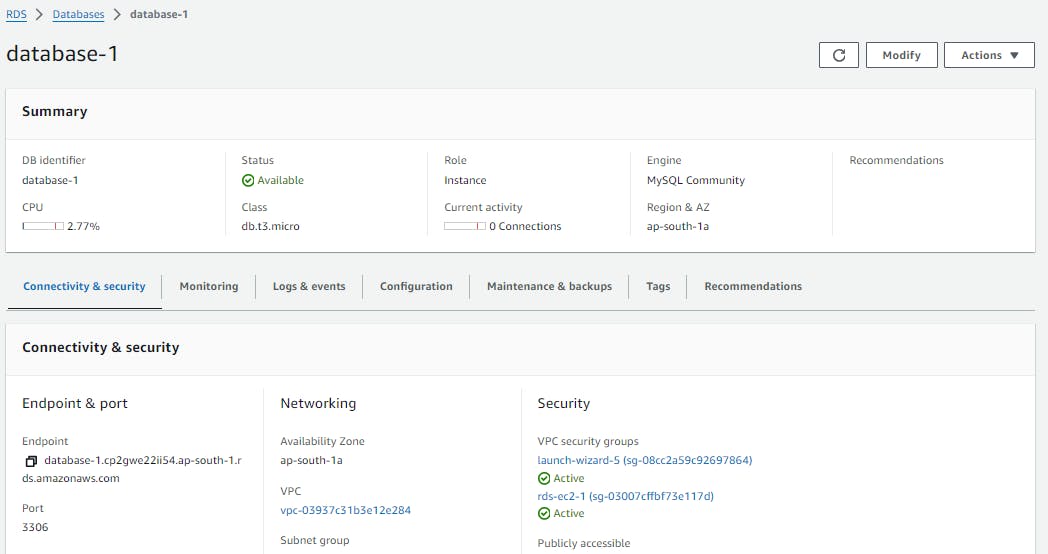
Click "Security" and note the username and password.
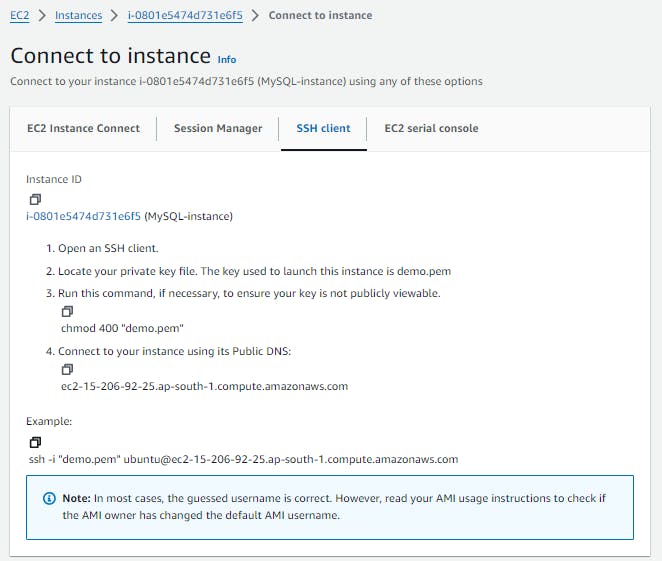
SSH into your EC2 instance using a terminal or remote access tool.
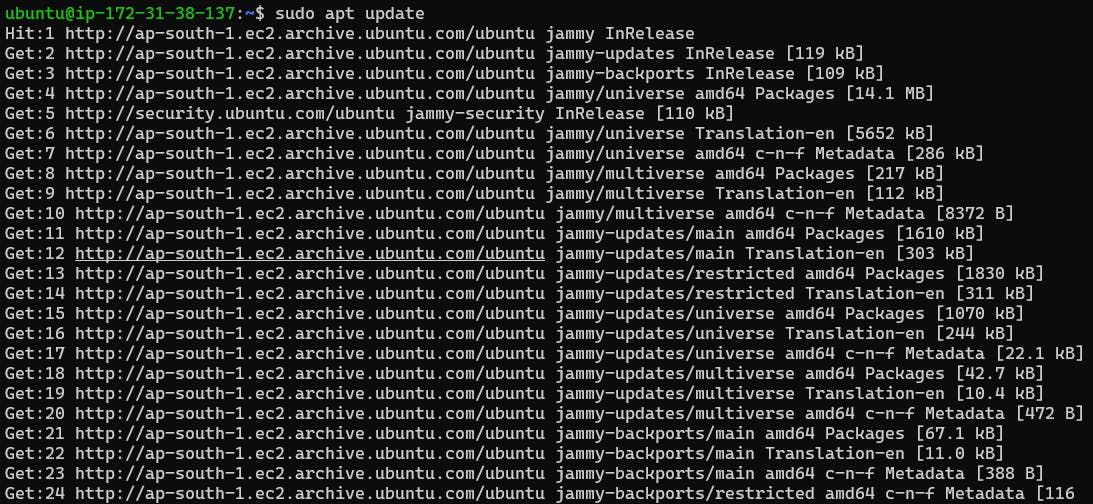
Install a MySQL client using below command
sudo apt update
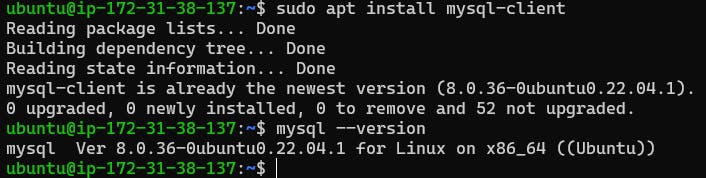
sudo apt install mysql-client
mysql --version
Connect to the RDS instance using the MySQL client and the endpoint address, username, and password:
sudo mysql -h <endpoint address> -P <port.no> -u <username> -p
Enter the password when prompted and press enter.
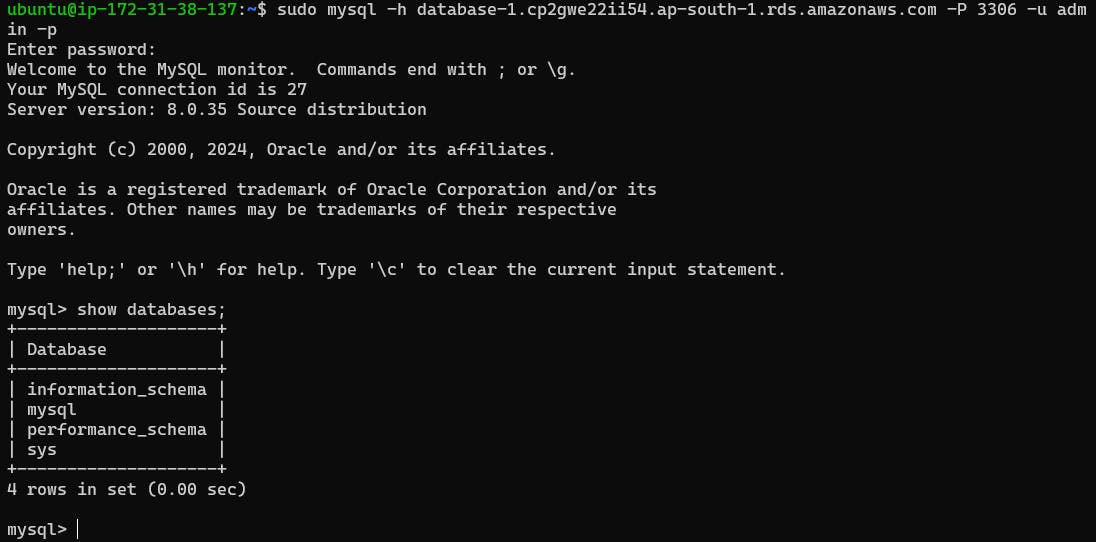
Now RDS is connected mysql client
Conclusion :
AWS RDS simplifies database management by handling many administrative tasks, allowing developers to focus on building robust applications. By following the steps outlined above, you can set up a Free Tier RDS MySQL instance, connect it to an EC2 instance securely, and leverage the power of AWS for your database needs. Happy cloud computing!
I'm confident that this article will prove to be valuable, helping you discover new insights and learn something enriching .
thank you : )