

In the dynamic world of container orchestration, Kubernetes has emerged as a powerhouse, providing developers with a robust platform to manage their containerized applications efficiently. One of the key concepts in Kubernetes is Deployment, which plays a pivotal role in automating the deployment and scaling of applications.
Understanding Deployment in Kubernetes
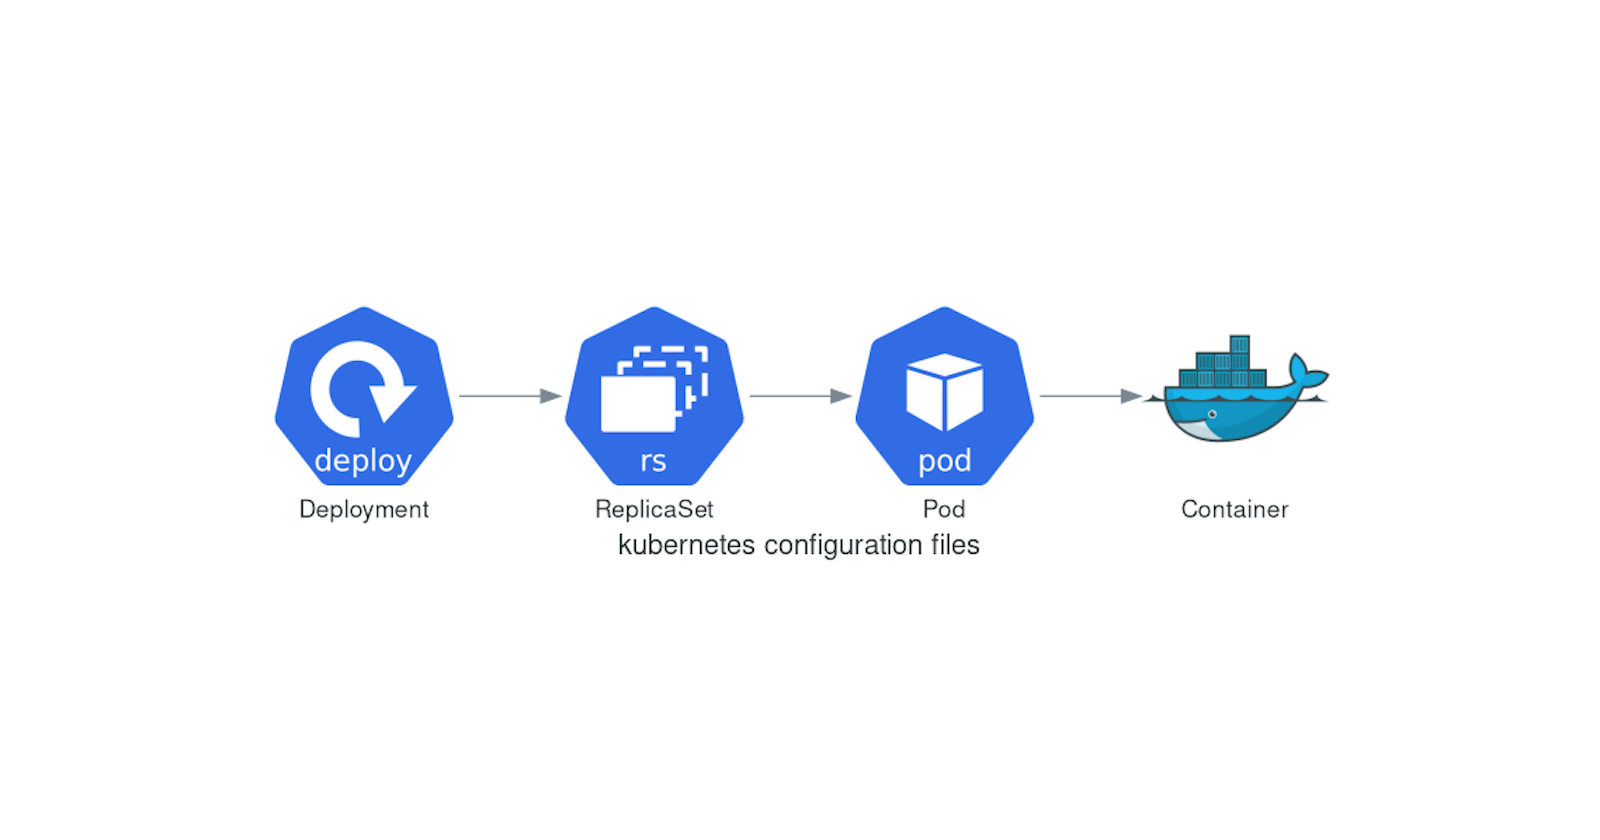
Before delving into the practical aspect of deploying an application using Kubernetes, let's grasp the concept of Deployment itself. In Kubernetes, a Deployment is an object that defines the desired state for a set of replica Pods. It ensures that the specified number of Pods are running and can automatically handle scaling, rolling updates, and rollbacks, making it a vital tool for managing applications in production environments.
Task-1:
Create one Deployment file to deploy a sample todo-app on K8s using "Auto-healing" and "Auto-Scaling" feature
For our hands-on exercise, we'll create a Deployment file to deploy a sample todo-app on Kubernetes using the Auto-Healing and Auto-Scaling features. We'll assume that you have a Kubernetes cluster set up, such as Minikube, and the kubectl command-line tool installed to interact with your cluster.
Step 1: Creating the Deployment File (deployment.yaml)
Let's start by crafting our Deployment file. Open your preferred text editor and create a file named deployment.yaml. Here's an example of what the contents of this file might look like:
apiVersion: apps/v1

kind: Deployment

metadata:

  name: todo-deployment

  labels:

    app: todo-app

spec:

  replicas: 3

  selector:

    matchLabels:

      app: todo-app

  template:

    metadata:

      labels:

        app: todo-app

    spec:

      containers:

      - name: todo-app

        image: trainwithshubham/django-todo:latest

        ports:

        - containerPort: 8000
In this YAML file:
apiVersionandkindspecify the Kubernetes object type, which in our case is a Deployment.metadataincludes the name of our Deployment (todo-app).specdefines the desired state of our Deployment, including the number of replicas (2 in this case) and the Pod template.The Pod template specifies the container image (
prathmeshdockerr/django-todo:latest) and the container port (8000) that our application listens on.
Step 2: Applying the Deployment to Your Kubernetes Cluster
With the deployment.yaml file ready, it's time to deploy our application to the Kubernetes cluster. Open your terminal and execute the following command:
kubectl apply -f deployment.yaml
This command tells Kubernetes to create or update the resources defined in the deployment.yml file. Kubernetes will create three replica Pods of our todo-app, ensuring high availability.

Step 3 : Verifying Deployment
After applying the Deployment, you can verify that the Pods are running and the Deployment is successful:
Check the status of the Pods created by the Deployment:
kubectl get pods
This command will list all Pods in the default namespace. Look for Pods with names related to your
todo-app.Verify the Deployment status:
kubectl get deployment
This command will display information about the Deployments in the default namespace, including the number of desired and available replicas.
To delete deployment, we use:
kubectl delete -f deployment.yaml
We can also observe that, along with deployment, the pods created are also deleted.

Finally! You created a cluster and deployed a Django application on the worker node!
I'm confident that this article will prove to be valuable, helping you discover new insights and learn something enriching .
thank you : )