

Welcome to the world of Kubernetes! In this blog post, we'll guide you through the process of launching your first Kubernetes cluster using Minikube and deploying an Nginx web server on it. Whether you're new to containers or looking to explore edge computing and IoT projects, Minikube provides a streamlined way to get started with Kubernetes.
What is Minikube?
Minikube is a tool that swiftly sets up a local Kubernetes cluster on macOS, Linux, and Windows. It simplifies the process of deploying Kubernetes by offering a lightweight version that retains all the benefits of Kubernetes without the complexity. Here are some key features of Minikube:
Latest Kubernetes Support: Works with the latest Kubernetes releases and supports several previous minor versions.
Cross-Platform: Compatible with Linux, macOS, and Windows operating systems.
Deployment Flexibility: Can be deployed as a virtual machine (VM), a container, or on bare-metal infrastructure.
Container Runtimes: Supports multiple container runtimes such as CRI-O, containerd, and Docker.
Direct API Endpoint: Offers a direct API endpoint for rapid image loading and building.
Advanced Features: Includes features like LoadBalancer, filesystem mounts, FeatureGates, and network policies.
Addons: Provides addons for easy installation of Kubernetes applications.
CI Support: Compatible with common CI (Continuous Integration) environments.
Now that we understand what Minikube is, let's dive into the step-by-step process of setting it up and launching your first Kubernetes cluster with Nginx running.
Task-01:
Install minikube on your local
Launch an instance Kubernetes-minikube with t2.medium instance-type, Ubuntu OS.

Then Connect to the terminal.
Update your package lists to make sure you are getting the latest version and dependencies.
sudo apt update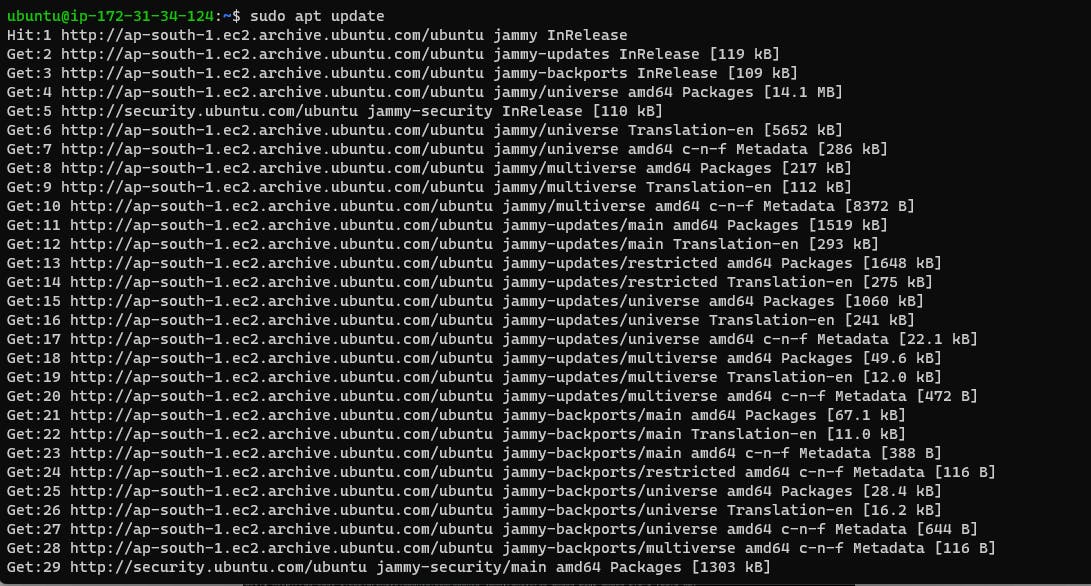
Install some basic required packages.
sudo apt install -y curl wget apt-transport-httpsMinikube can run a Kubernetes cluster either in a VM or locally via Docker. This guide demonstrates the Docker method.
sudo apt install -y docker.ioStart and enable Docker.
sudo systemctl enable --now dockerAdd current user to docker group (To use docker without root)
sudo usermod -aG docker $USER && newgrp dockerNow, logout (use
exitcommand) and connect again.Install Minikube
First, download the Minikube binary using
curl:curl -Lo minikube https://storage.googleapis.com/minikube/releases/latest/minikube-linux-amd64Make it executable and move it into your path:
 chmod +x minikube
 sudo mv minikube /usr/local/bin/
Add sudo permission and start kubernetes cluster
 sudo usermod -aG docker $USER && newgrp docker
 minikube start --driver=docker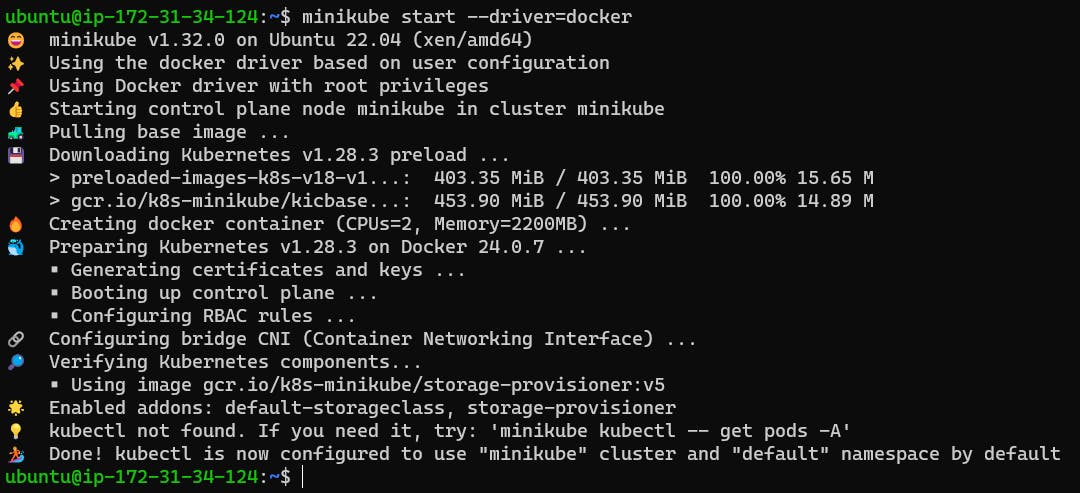
This command will start a single-node Kubernetes cluster inside a Docker container.
Check status of cluster using minikube status
minikube status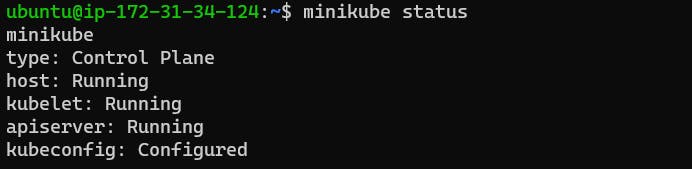
Understanding Pods in Kubernetes
Before we proceed to launch Nginx, let's understand the concept of Pods in Kubernetes.
Pods: Pods are the smallest deployable units in Kubernetes. A Pod can contain one or more containers that share storage and network resources and are scheduled together on the same node. Pods represent an application-specific "logical host" and are tightly coupled.
Task-02:
Create your first pod on Kubernetes through minikube.
Download kubectl, which is a Kubernetes command-line tool.
curl -LO "https://dl.k8s.io/release/$(curl -L -s https://dl.k8s.io/release/stable.txt)/bin/linux/amd64/kubectl"
Check above image ⬆️ Make it executable and move it into your path:
 chmod +x kubectl
 sudo mv kubectl /usr/local/bin/
Create a Pod Manifest: Create a YAML manifest file (
nginx-pod.yaml) for your Nginx Pod. Here's an example:apiVersion: v1 kind: Pod metadata: name: nginx-pod spec: containers: - name: nginx-container image: nginx:latest ports: - containerPort: 80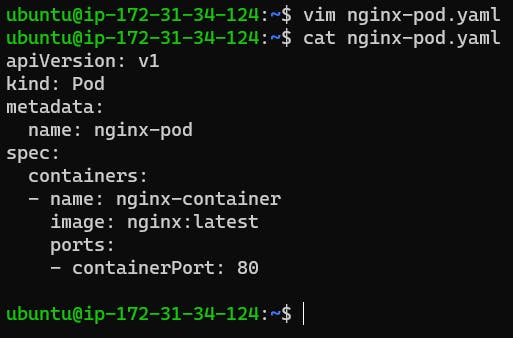
Apply the Manifest: Use
kubectl apply -f nginx-pod.yamlto create the Pod based on your manifest.kubectl apply -f nginx-pod.yaml
Verify Pod Creation: Check the status of your Pod using
kubectl get pods. You should see thenginx-podin theRunningstate.kubectl get pods
Congratulations! You've successfully launched your first Kubernetes cluster using Minikube and deployed an Nginx Pod. This is just the beginning of your Kubernetes journey, and there's a lot more to explore and learn in the vast ecosystem of container orchestration. Happy clustering!
I'm confident that this article will prove to be valuable, helping you discover new insights and learn something enriching
thank you : )