Jenkins Master (Server)
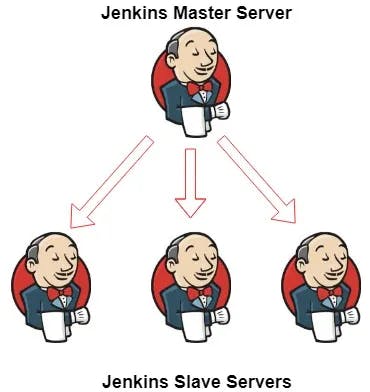
Jenkins’s server or master node holds all key configurations. Jenkins master server is like a control server that orchestrates all the workflow defined in the pipelines. For example, scheduling a job, monitoring the jobs, etc.
Jenkins Agent
An agent is typically a machine or container that connects to a Jenkins master and this agent that actually execute all the steps mentioned in a Job. When you create a Jenkins job, you have to assign an agent to it. Every agent has a label as a unique identifier.
When you trigger a Jenkins job from the master, the actual execution happens on the agent node that is configured in the job.
A single, monolithic Jenkins installation can work great for a small team with a relatively small number of projects. As your needs grow, however, it often becomes necessary to scale up. Jenkins provides a way to do this called “master to agent connection.” Instead of serving the Jenkins UI and running build jobs all on a single system, you can provide Jenkins with agents to handle the execution of jobs while the master serves the Jenkins UI and acts as a control node.
Pre-requisites
Let’s say we’re starting with a fresh Ubuntu 22.04 Linux installation. To get an agent working make sure you install Java ( same version as jenkins master server ) and Docker on it.
Note:- While creating an agent, be sure to separate rights, permissions, and ownership for jenkins users.
Please follow the Day 27 task and Day 26 task blog. In this blog, you will see how the declarative pipeline works.
Task-01
Create an agent by setting up a node on Jenkins
Create a new AWS EC2 Instance and connect it to master(Where Jenkins is installed)
The connection of master and agent requires SSH and the public-private key pair exchange.
Verify its status under "Nodes" section.
You can follow this article for the same
Step 1: Create two instances, master and worker.

In Master instance, install Java and Jenkins.
##Java

$ sudo apt update
$ sudo apt install openjdk-11-jre
$ java -version


##Jenkins

$ sudo wget -O /usr/share/keyrings/jenkins-keyring.asc \
  https://pkg.jenkins.io/debian-stable/jenkins.io-2023.key
$ echo "deb [signed-by=/usr/share/keyrings/jenkins-keyring.asc]" \
  https://pkg.jenkins.io/debian-stable binary/ | sudo tee \
  /etc/apt/sources.list.d/jenkins.list > /dev/null
$ sudo apt-get update
$ sudo apt-get install jenkins
In Agent instance, install Java and Docker.
##Java

$ sudo apt update
$ sudo apt install openjdk-11-jre
$ java -version

##Docker

$ sudo apt-get update
$ sudo apt-get install docker.io
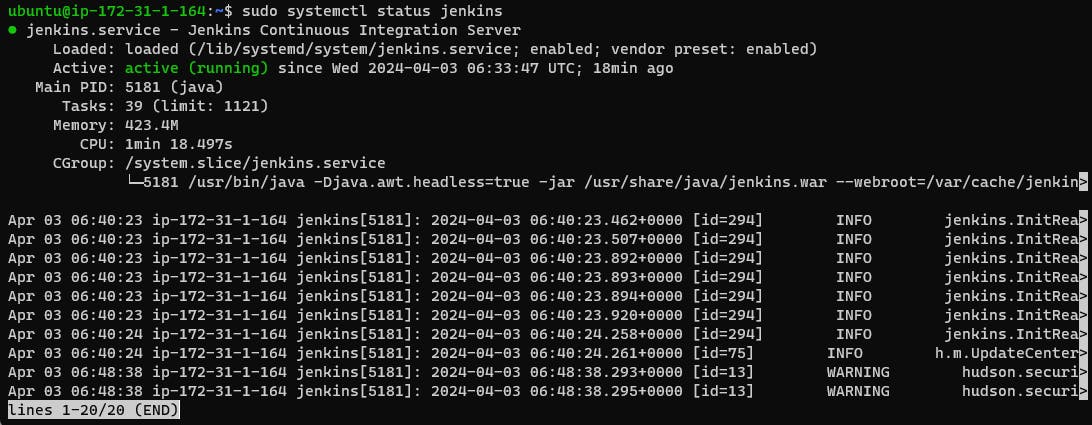
Verify all services are up and running in their respective instances. Go to Jenkins UI and set up Jenkins account by installing the required/recommended plugins.
Step 2: Connect master to Jenkins
Step 3: Click on Setup agent

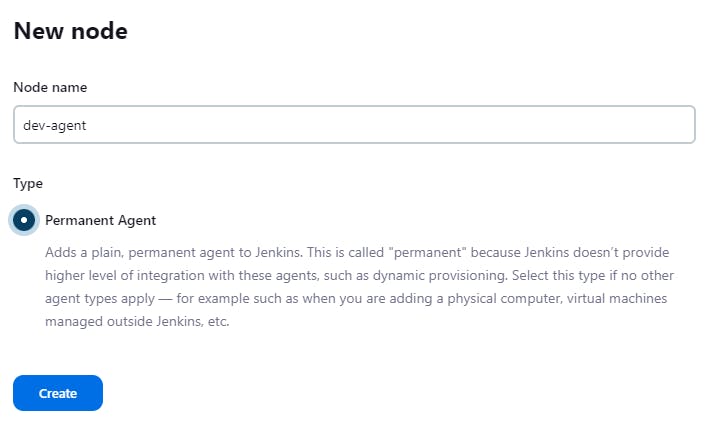
Step 4: Give a node name and tick on permanent agent and create
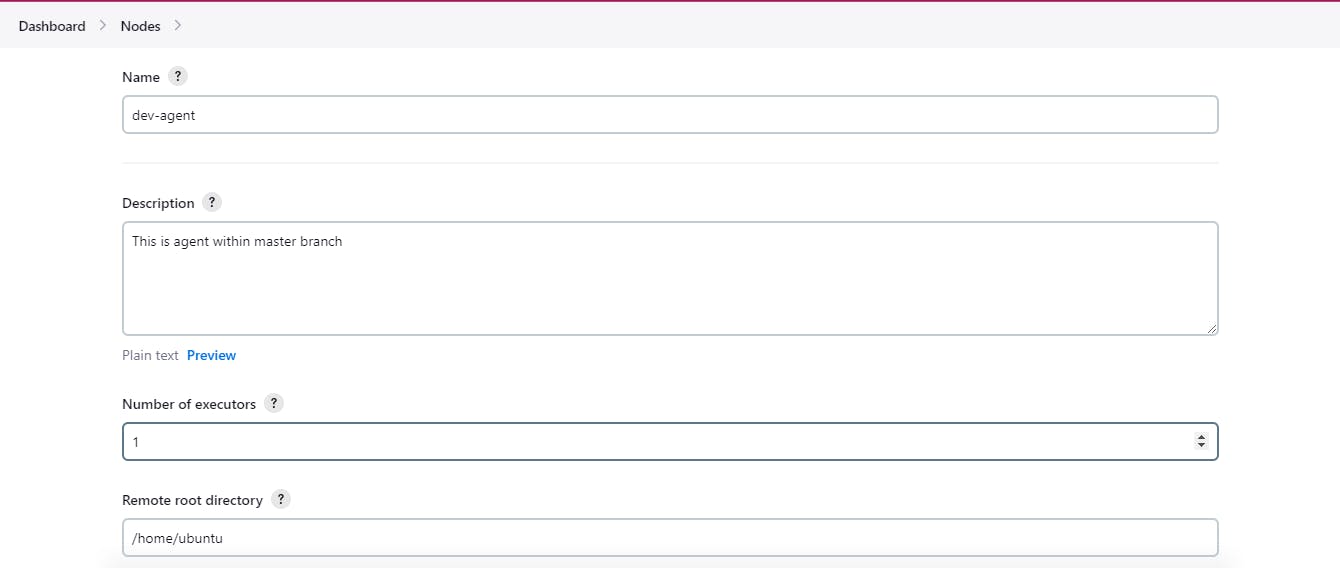
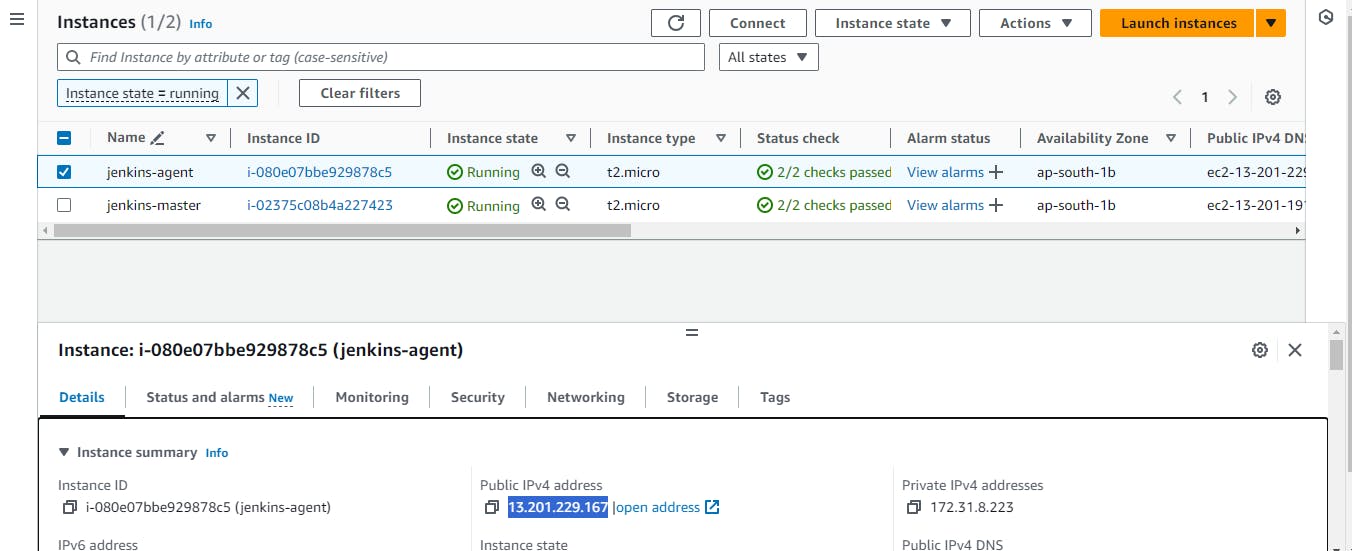
Step 5: Give a description and Remote root directory as " /home/ubuntu " and Give the label "dev" and Usage to " use this node much as possible" and Launch method to " Launch agents via SSH " and copy Host as worker-server instance IP address like this and paste it there.


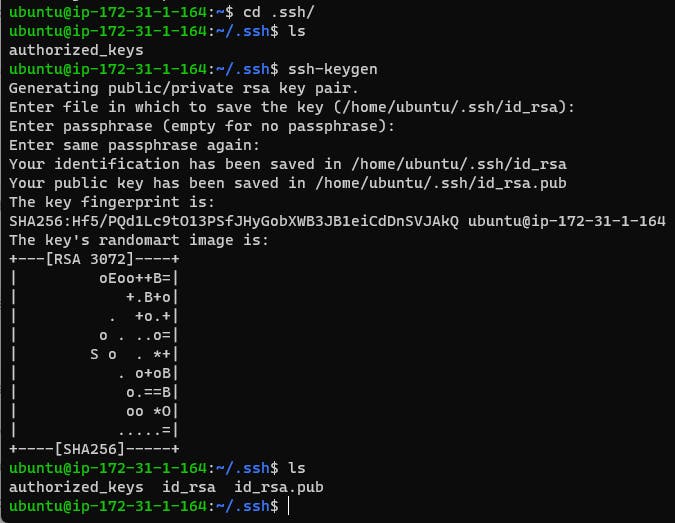
Step 6: Now come to the master-server instance terminal and go to cd .ssh/ then generate ssh key by running commands.
cd .ssh/
ssh-keygen
here you can see two files have been created one is id_rsa which is the private key and another one is id_rsa.pub which public key.
Step 7: Go to id_rsa.pub
cat id_rsa.pub

and copy it then paste to the worker-server terminal by going to the .ssh/ run command

Step 7: now come to the Jenkins credentials section select Jenkins like this
now you will see this page
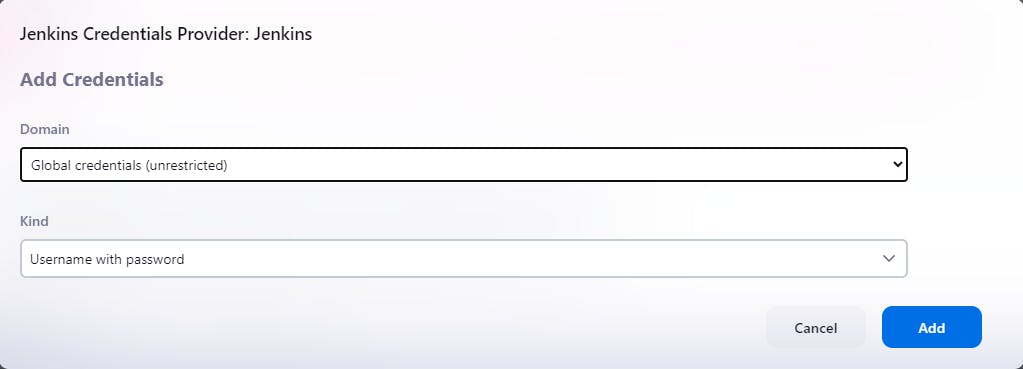
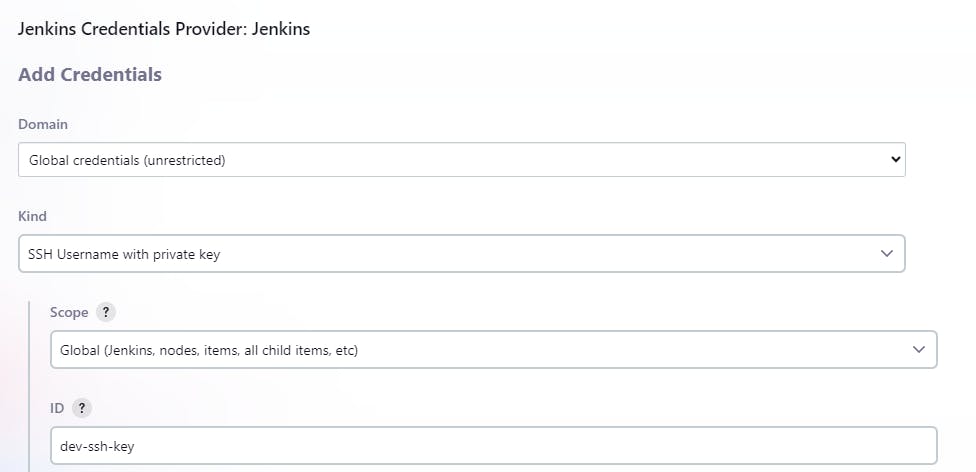
Now in kind section select SSH username and private key
then set the ID, description and username shown in the image below
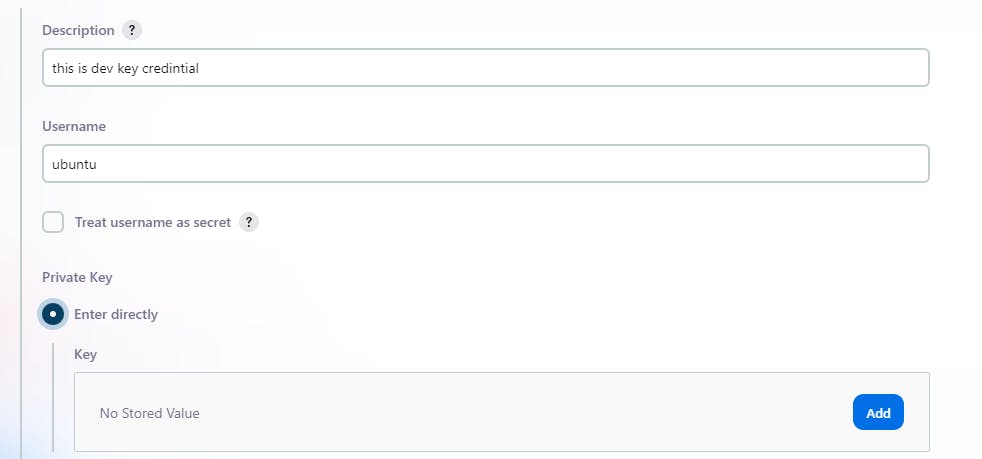
Step 8: Go to the master-server terminal and open ssh private key like this
cat id_rsa
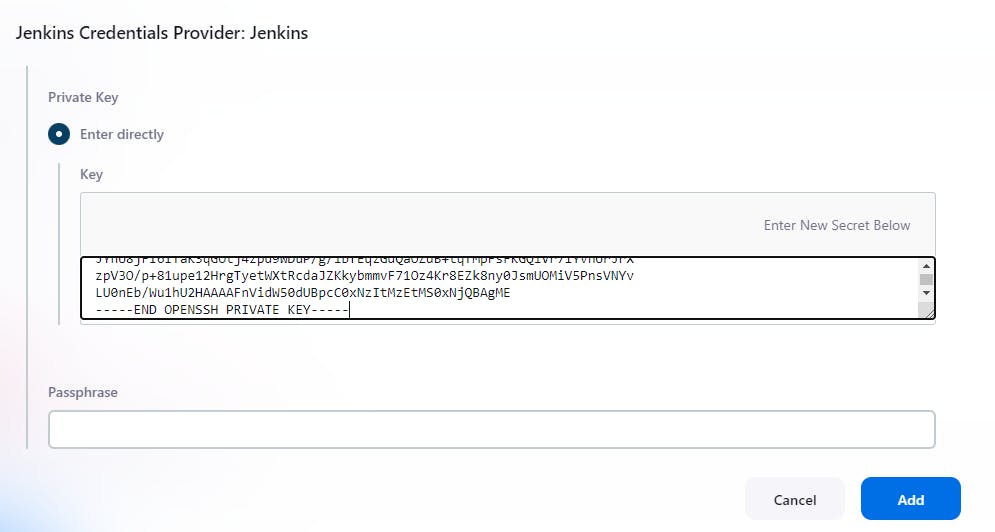
then copy it and past it in Jenkins credentials like this and add
Step 9: In the Host key verification strategy select "Non verifying Verification Strategy" and save
here you can see the both node is connected

Task-02
Run your previous Jobs on the new agent
Use labels for the agent, your master server should trigger builds for the agent server.
Recreate day 26 task in it
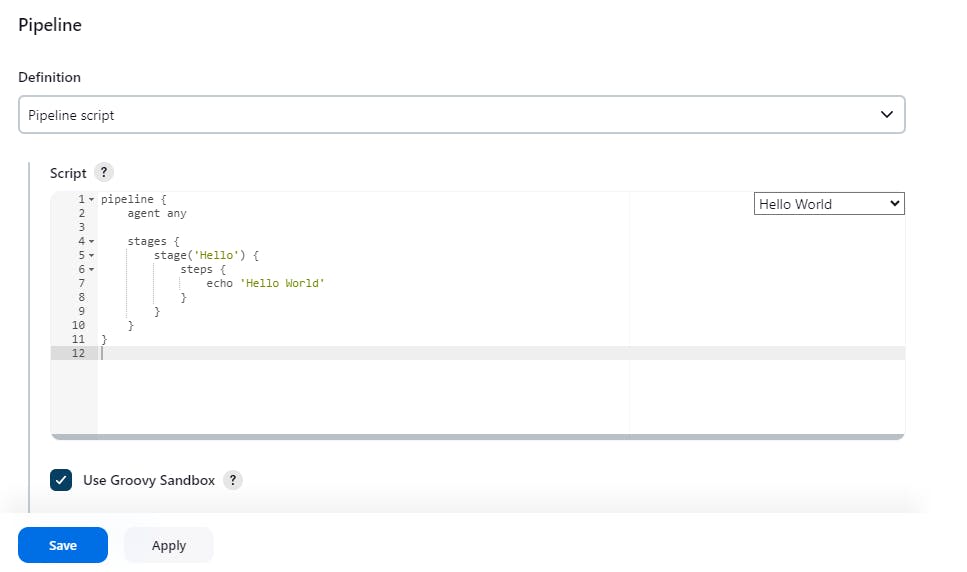
Step 1: create a new job and in the pipeline area write this commads and save
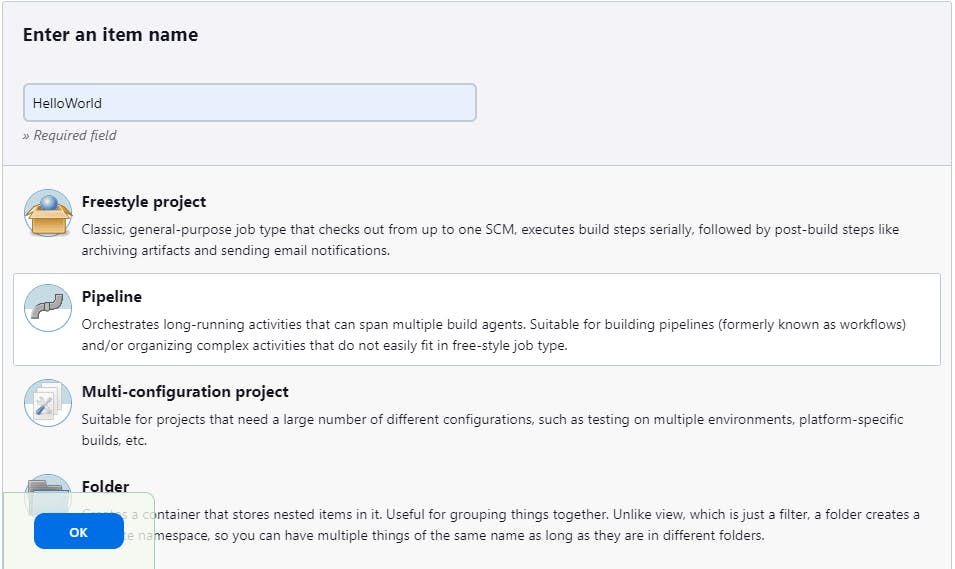
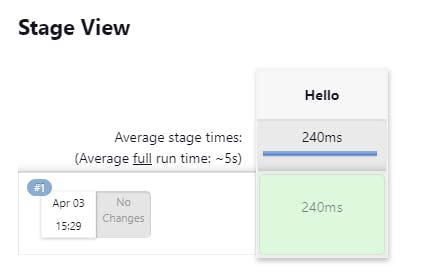
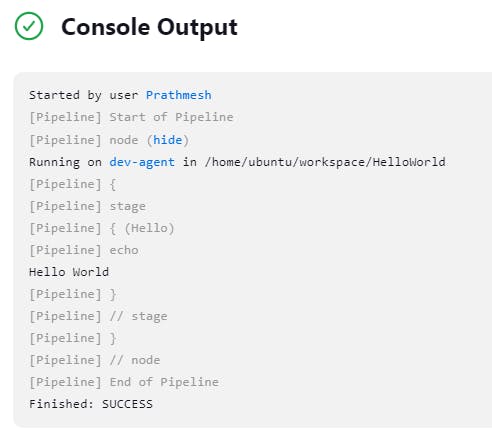
here you can see we have successfully run out pipeline.
Let's recreate days 27 task in it
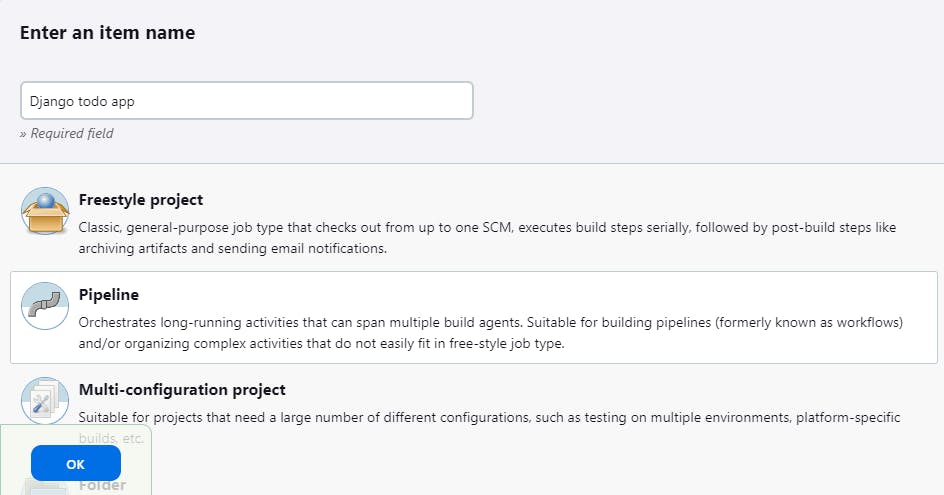
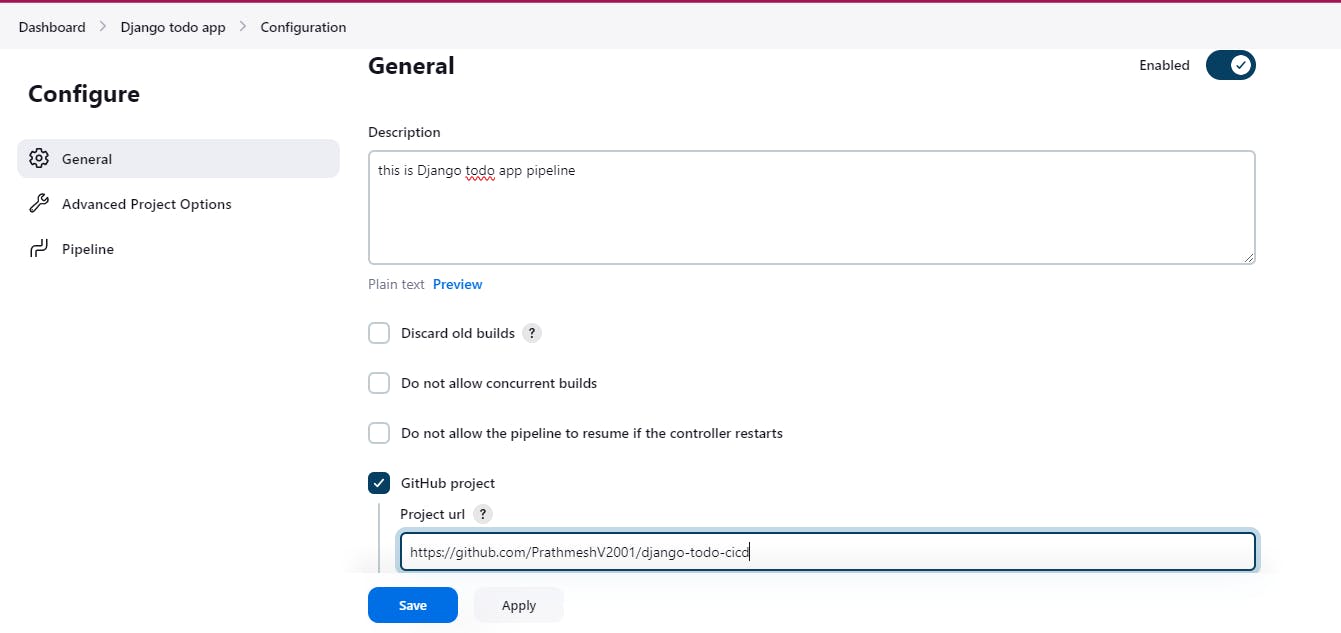
Step 1: In the GitHub project section put the url
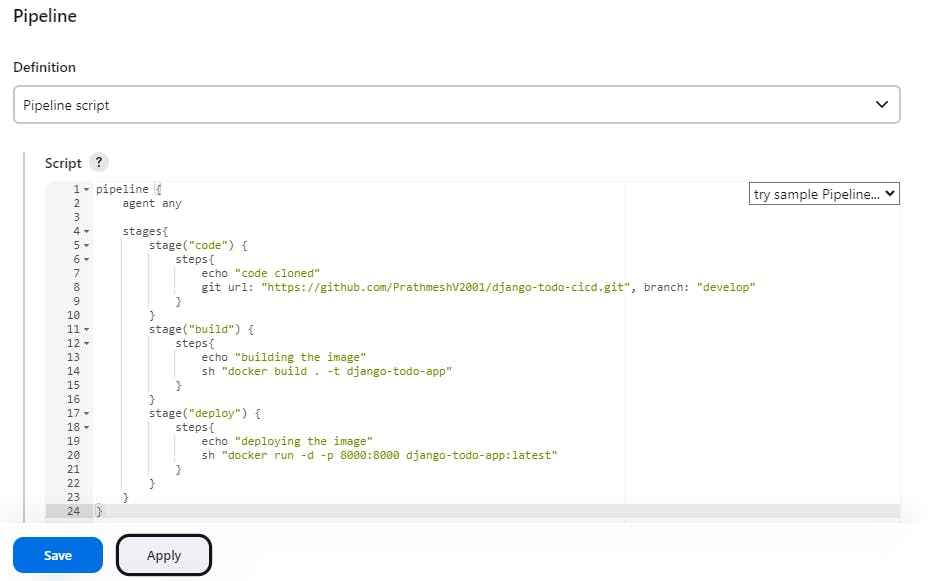
pipeline {
    agent any

    stages{
        stage("code") {
            steps{
                echo "code cloned"
                git url: "https://github.com/PrathmeshV2001/django-todo-cicd.git", branch: "develop"
            }
        }
        stage("build") {
            steps{
                echo "building the image"
                sh "docker build . -t django-todo-app"
            }
        }
        stage("deploy") {
            steps{
                echo "deploying the image"
                sh "docker run -d -p 8000:8000 django-todo-app:latest"
            }
        }
    }
}
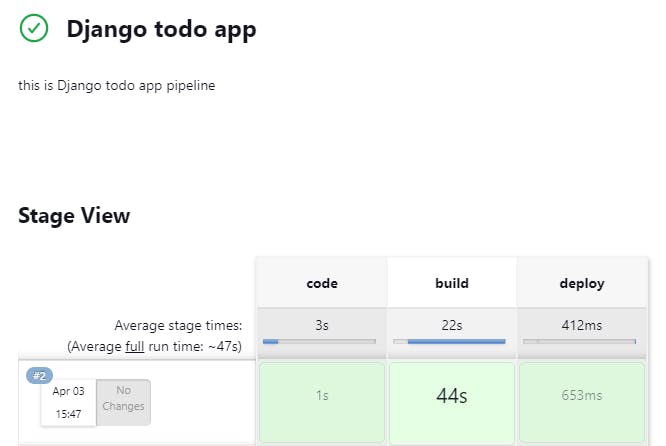
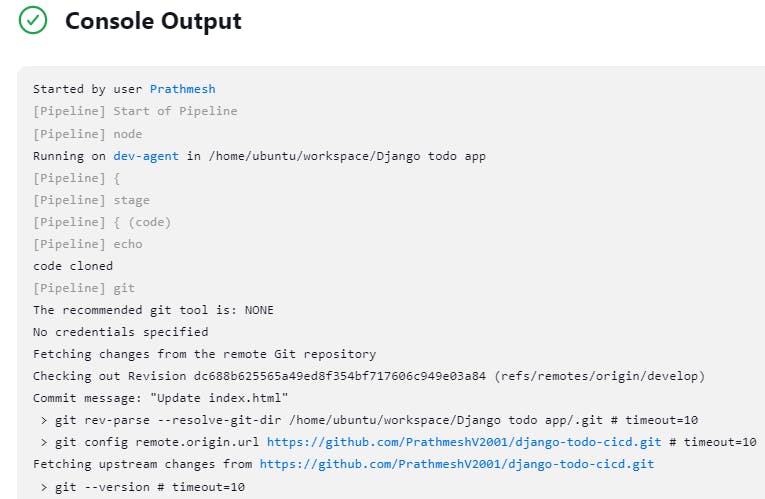
Step 2: Now build now then you can see its successfully running
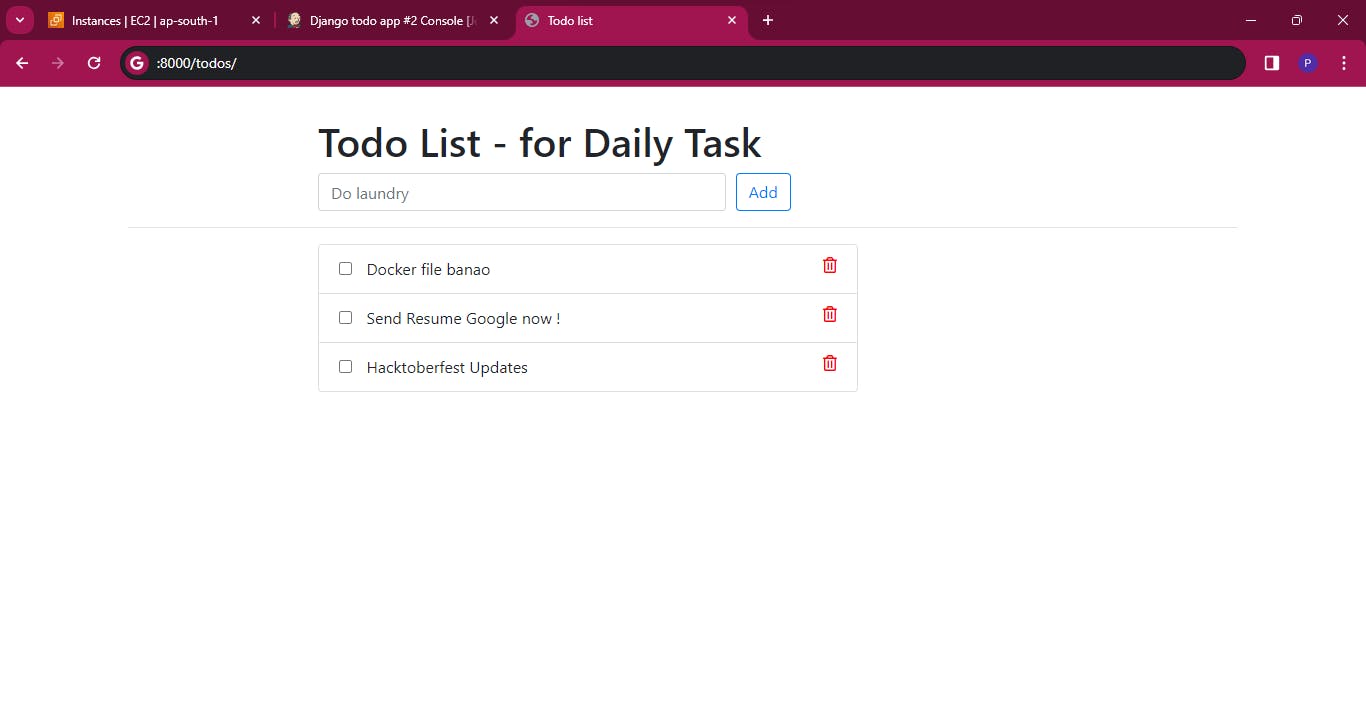
Step 3: Go to the worker server instance and open port 8000 Copy its IP address and add ":8000" to it here you can see we have successfully deployed it through the Jenkins pipeline
Conclusion :
Jenkins agents play a pivotal role in scaling CI/CD pipelines. By harnessing the power of distributed computing, organizations can achieve greater efficiency, flexibility, and reliability in their automation endeavors. Master-agent connectivity transforms Jenkins from a single-server solution to a robust, scalable platform capable of meeting evolving development needs.
I'm confident that this article will prove to be valuable, helping you discover new insights and learn something enriching .
thank you : )
