Day 22 : Getting Started with Jenkins

In today's fast-paced world of software development, automation is key. Tools that help streamline processes, reduce manual intervention, and increase efficiency are highly valued. One such tool that has gained immense popularity in the realm of continuous integration and continuous delivery (CI/CD) is Jenkins.
What is Jenkins?
Jenkins is an open-source automation server written in Java. It is widely used for automating tasks related to building, testing, and deploying software. Originally developed as the Hudson project, Jenkins has evolved into a robust and flexible tool that supports the automation of various tasks in the software development lifecycle.
The Necessity of Jenkins
Before delving into the procedural aspects of installing and using Jenkins, it's essential to understand why this tool is necessary.
Automation: Jenkins allows developers to automate repetitive tasks such as building, testing, and deploying code. This automation not only saves time but also reduces the likelihood of human error.
Continuous Integration and Continuous Delivery (CI/CD): Jenkins plays a crucial role in implementing CI/CD pipelines. It enables developers to integrate code changes frequently, run automated tests, and deploy applications reliably and efficiently.
Flexibility: Jenkins offers a vast array of plugins that extend its functionality. Whether you need to integrate with version control systems, testing frameworks, or deployment tools, there's likely a Jenkins plugin available to suit your needs.
Community Support: Being an open-source project, Jenkins benefits from a large and active community. This means access to extensive documentation, tutorials, and community-contributed plugins, making it easier for users to get started and troubleshoot issues.
Scalability: Jenkins is designed to scale, allowing organizations to handle growing workloads and accommodate complex build pipelines with ease.
Getting Started with Jenkins
Now that we've covered the significance of Jenkins, let's dive into getting started with this powerful automation server.
Installation:
Installing Jenkins is straightforward and can be done on various operating systems. Here's a high-level overview:
1. Install Java Development Kit
Jenkins supports Java 8 and Java 11. However, in this tutorial, we will use Java Runtime Environment 11.
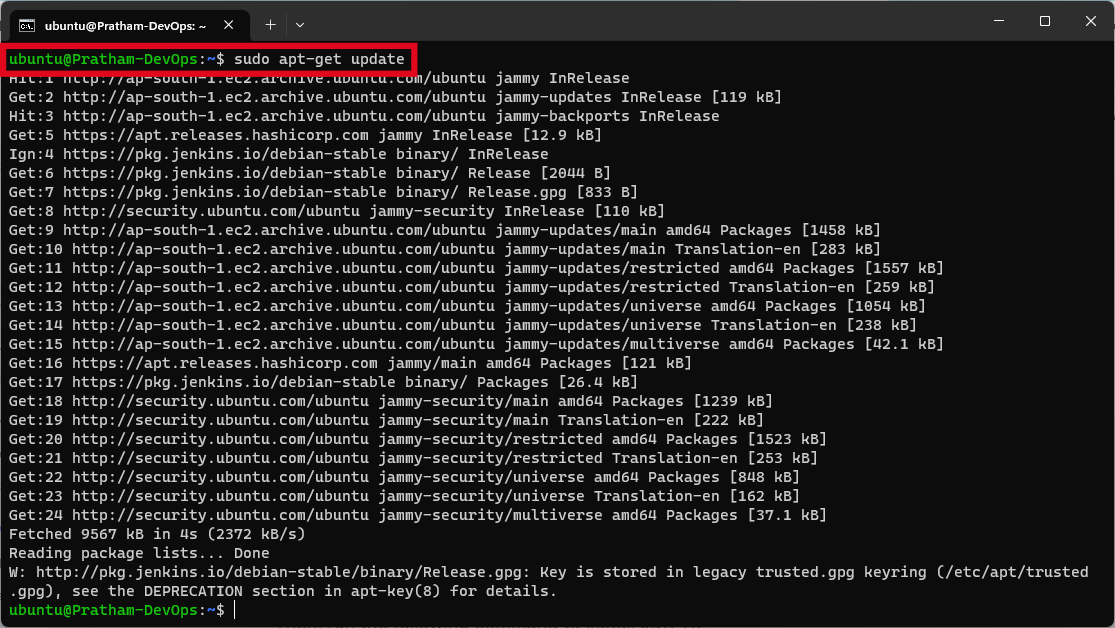
First, update the default Ubuntu packages lists for upgrades with the following command:
sudo apt-get update
Then, run the following command to install JDK 11:
sudo apt-get install openjdk-11-jdk

To test if Java has been installed successfully, run this command:
java -version
It should look something like this:

2. Install Jenkins
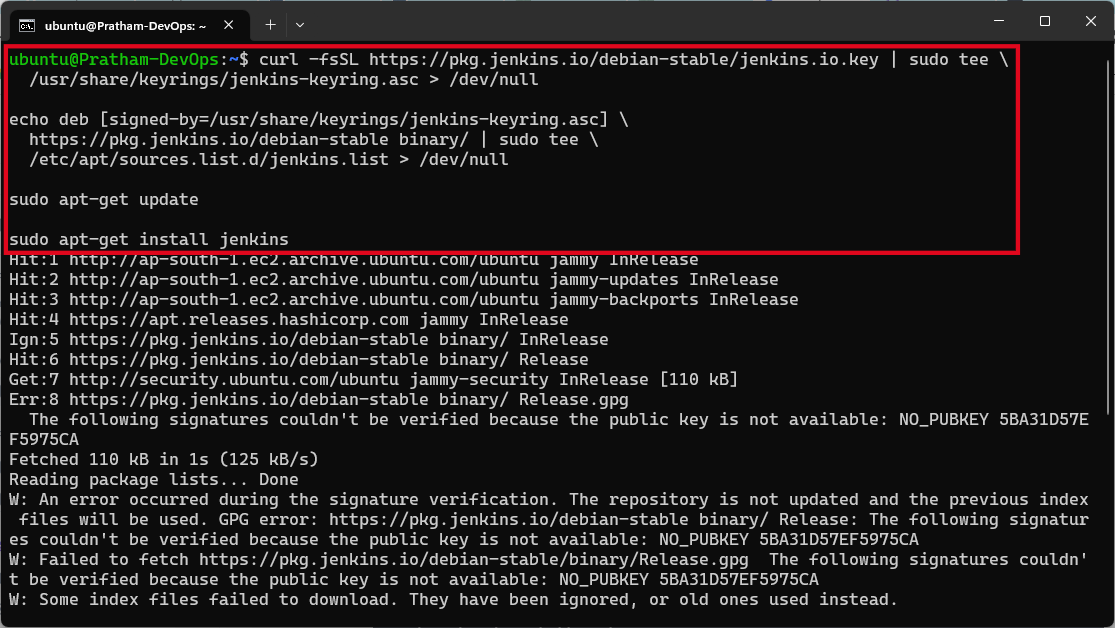
Now, we will install Jenkins itself. Issue the following four commands in sequence to initiate the installation from the Jenkins repository:
curl -fsSL https://pkg.jenkins.io/debian-stable/jenkins.io.key | sudo tee \
  /usr/share/keyrings/jenkins-keyring.asc > /dev/null

echo deb [signed-by=/usr/share/keyrings/jenkins-keyring.asc] \
  https://pkg.jenkins.io/debian-stable binary/ | sudo tee \
  /etc/apt/sources.list.d/jenkins.list > /dev/null

sudo apt-get update

sudo apt-get install jenkins
Once that’s done, start the Jenkins service with the following command:
sudo systemctl start jenkins.service
To confirm its status, use:
sudo systemctl status jenkins
If it’s working correctly, the terminal window will look like this :

3.Configuring Jenkins
Jenkins is now installed and running on your EC2 instance. To configure Jenkins:
Connect to http://<your_server_public_DNS>:8080 from your browser. You will be able to access Jenkins through its management interface:

As prompted, enter the password found in /var/lib/jenkins/secrets/initialAdminPassword.
Use the following command to display this password:
sudo cat /var/lib/jenkins/secrets/initialAdminPassword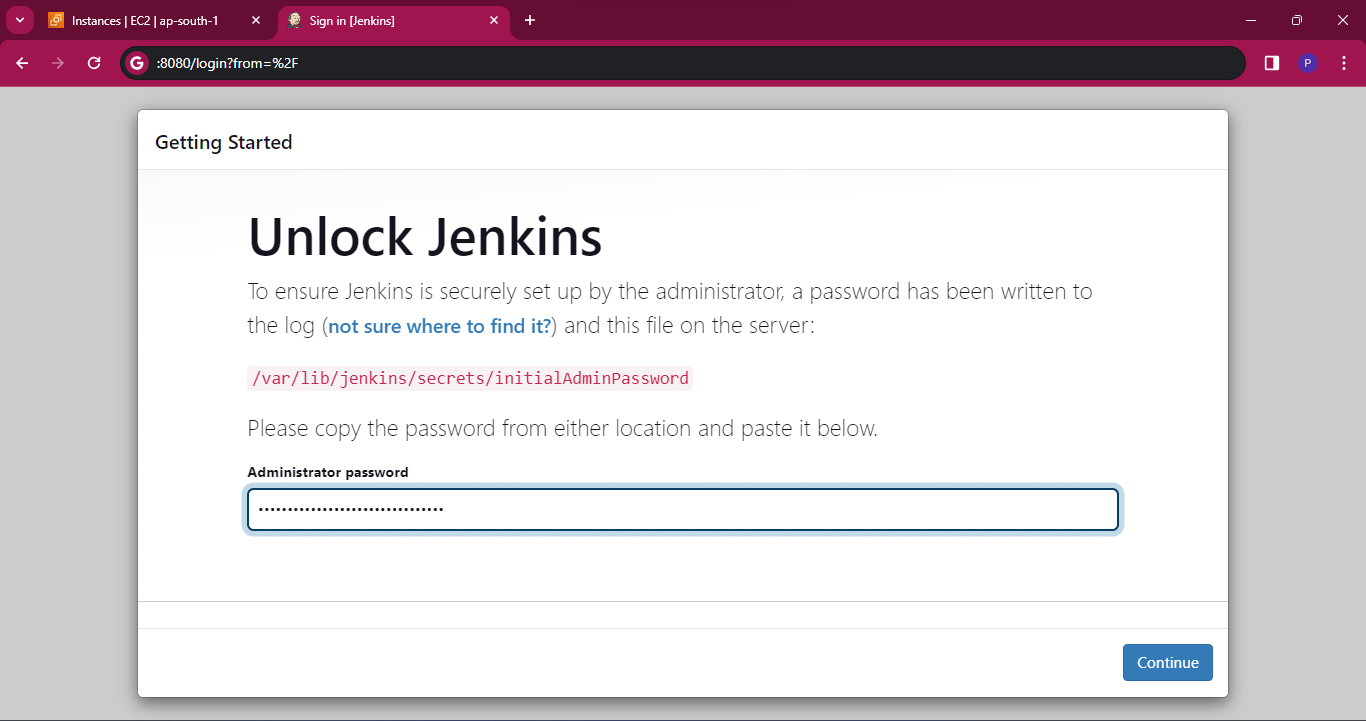
The Jenkins installation script directs you to the Customize Jenkins page. Click Install suggested plugins.
Once the installation is complete, the Create First Admin User will open. Enter your information, and then select Save and Continue.
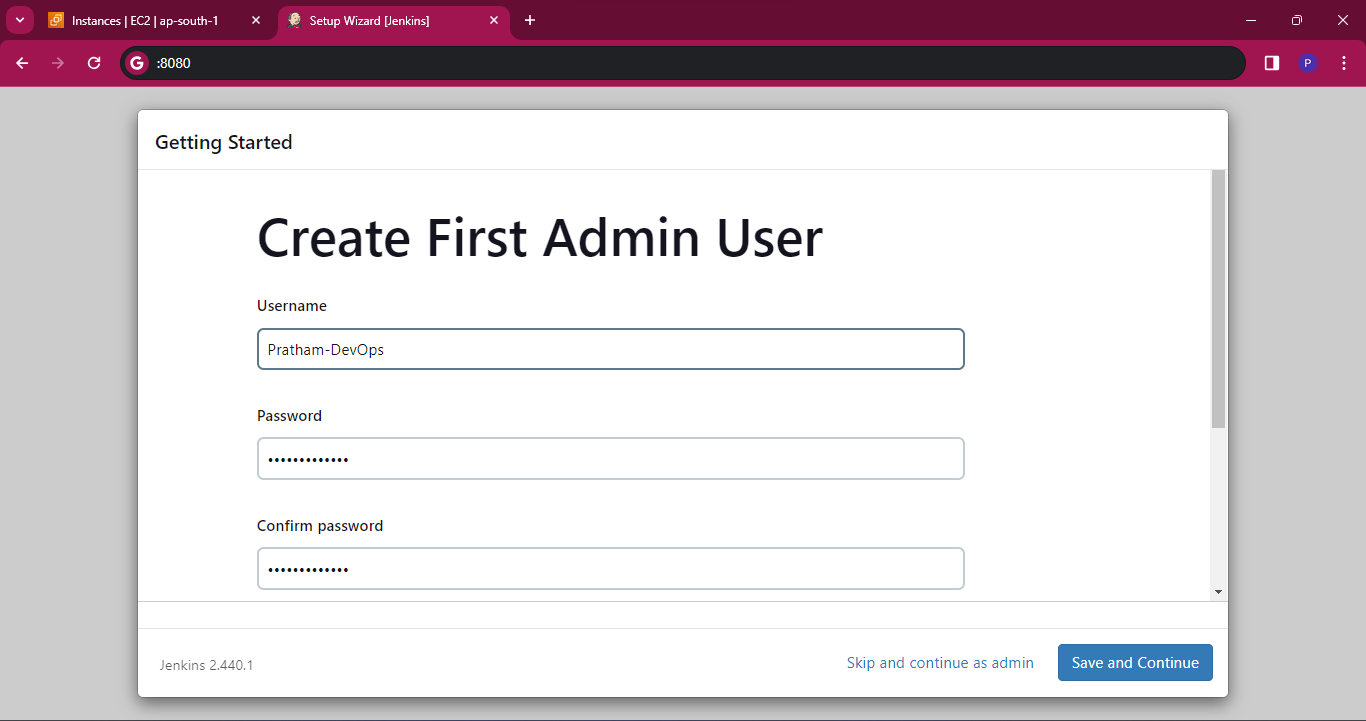
Then specify the preferred JenkinsURL and finish the configuration process.

Creating a Freestyle Pipeline:
Now that Jenkins is up and running, let's create a simple freestyle pipeline to print "Hello World!!".
Create a New Job:
Click on "New Item" on the Jenkins dashboard.

Enter a name for your job (e.g., "HelloWorld").
Select "Freestyle project" and click "OK".

Configure the Job:
In the job configuration page, scroll down to the "Build" section.
Click on "Add build step" and select "Execute shell".

In the command box, type
echo "Hello World!!".
Save and Run:
Click on "Save" to save your job configuration.

Click on "Build Now" to trigger a build of your pipeline.

Viewing Output:
Once the build is complete, you can view the output by clicking on the build number under the "Build History" section on the Jenkins dashboard. Here, you'll find the console output, which should display "Hello World!!".

Conclusion:
Jenkins is a versatile tool that can significantly improve the efficiency of software development workflows through automation. By understanding its importance and following the steps outlined in this guide, you can quickly get started with Jenkins and begin harnessing its power to streamline your development processes. Whether you're a seasoned developer or just getting started, Jenkins is a valuable addition to any software development toolkit.
I'm confident that this article will prove to be valuable, helping you discover new insights and learn something enriching .
thank you : )


