Welcome to the world of Amazon Web Services (AWS), a leading cloud provider offering a vast array of services to empower businesses and individuals in their digital journeys. Whether you're a student eager to explore cloud technologies or a seasoned enthusiast diving into hands-on learning, AWS's free tier and robust offerings make it an ideal playground for experimentation and growth.
PermalinkUnderstanding AWS Identity and Access Management (IAM)
Before we delve into practical tasks, let's understand the cornerstone of AWS security: Identity and Access Management (IAM). IAM is a powerful web service that enables you to securely manage access to AWS resources. With IAM, you gain centralized control over permissions, dictating who can access which resources within your AWS ecosystem.
IAM revolves around two key concepts:
Authentication: Determining the identity of users (who is signed in).
Authorization: Granting permissions to users based on their identity (who has access to what resources).
Now, let's put this knowledge into action with two hands-on tasks:
PermalinkTask 1: Setting Up an IAM User and Launching a Linux Instance
Create an IAM User:
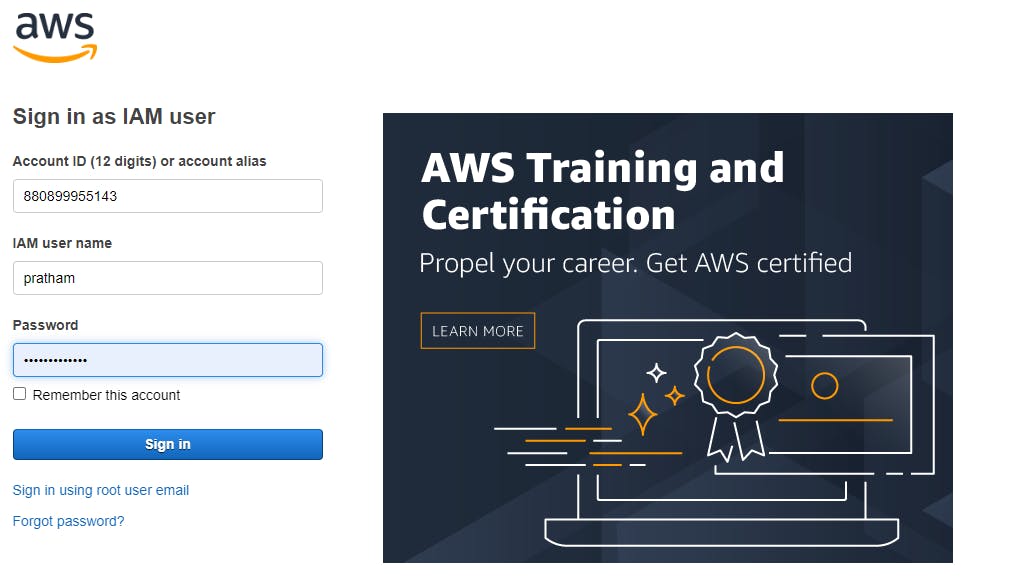
Log in to your AWS Management Console.
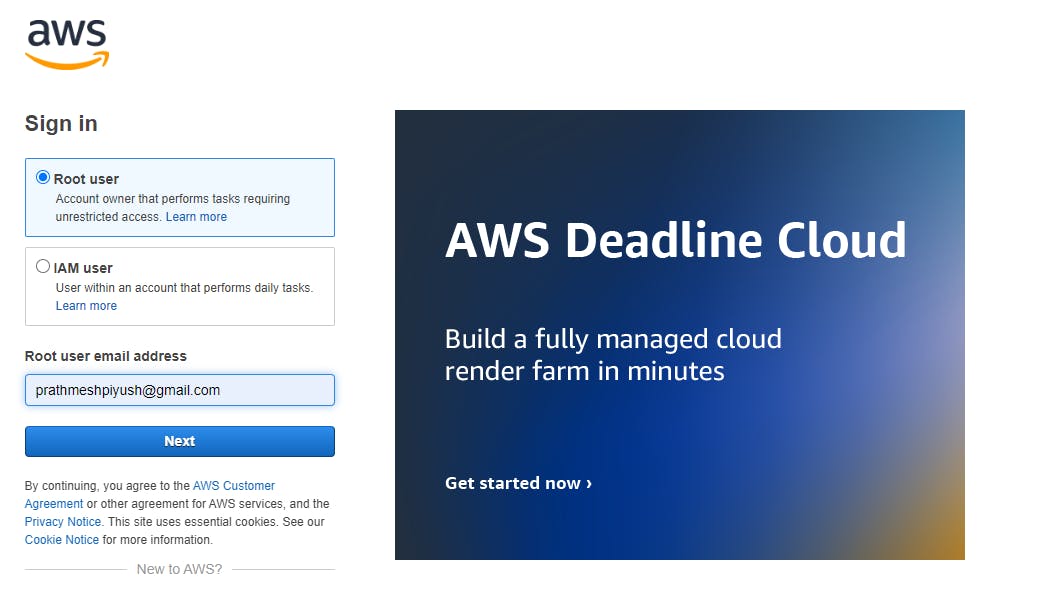
Navigate to IAM and select "Users" from the sidebar.

Click on "Create user" and choose a username of your choice.
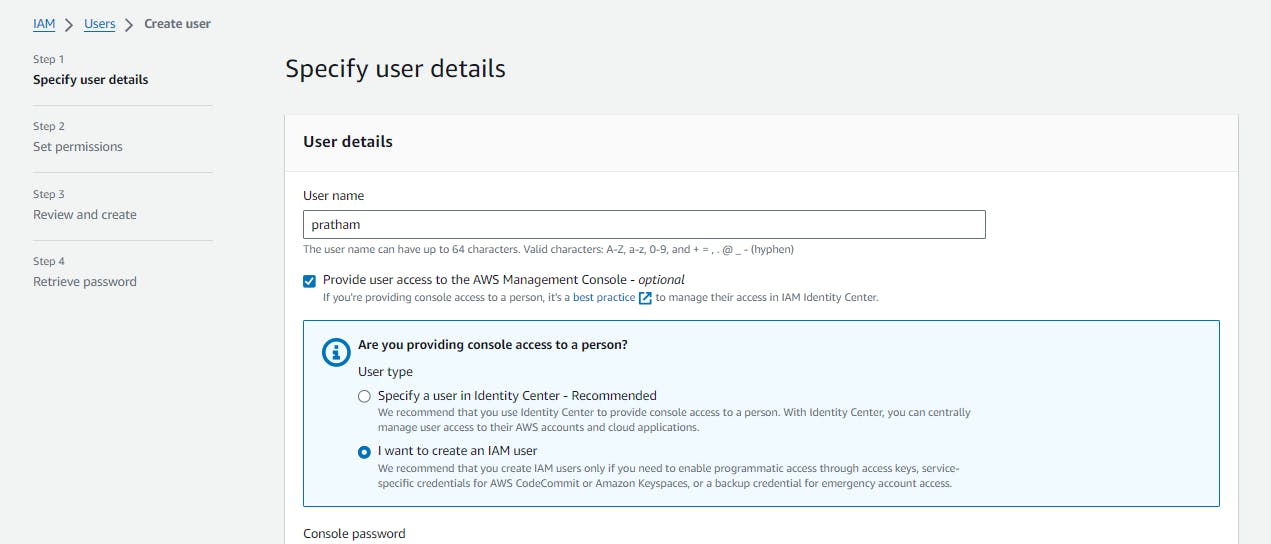
Click on Attach policies directly.
Attach the "AmazonEC2FullAccess" policy to grant EC2 permissions.
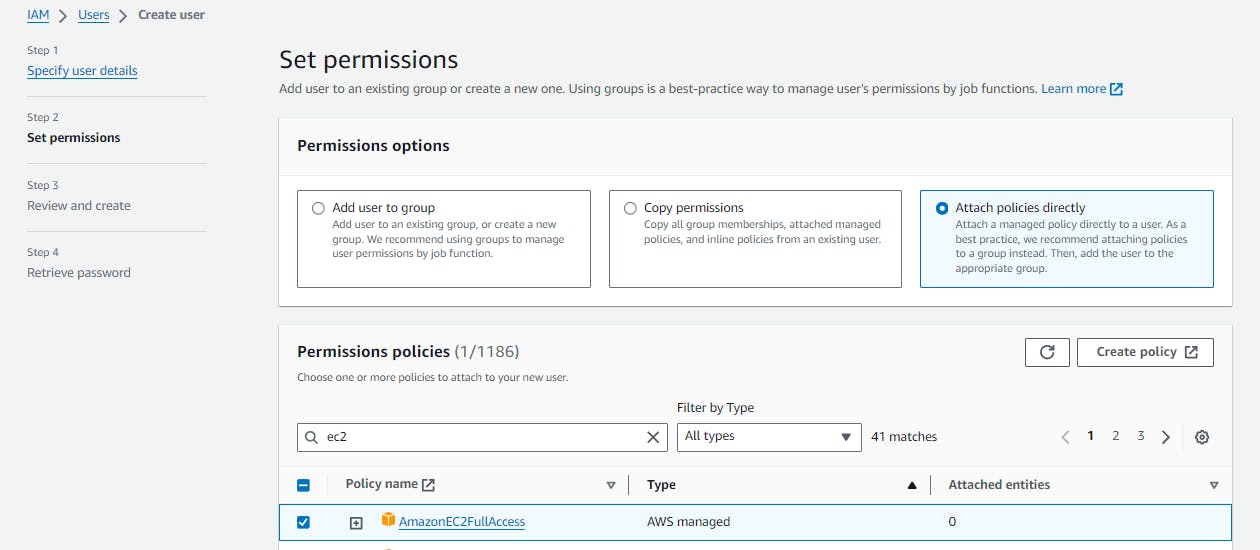
Then Click on create user.
New user will be created.

Launch a Linux Instance via IAM User:
Switch to the IAM user you created earlier in your AWS CLI or SDK.
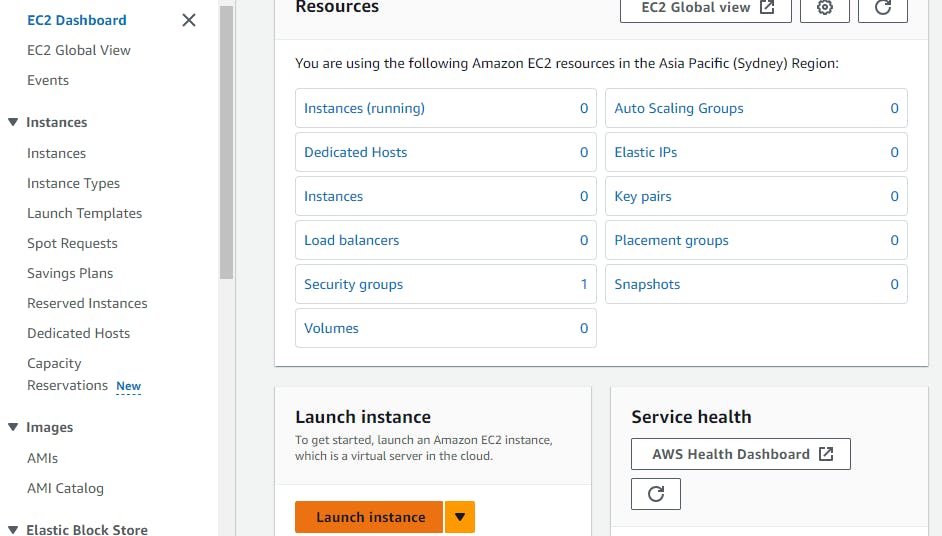
Type EC2 in search box and click on Launch instance.
Enter desired name for your EC2 instance. Select AMI as ubuntu and give key-value pair.

  #!/bin/bash
  sudo apt update
  sudo apt install docker.io -y
  sudo apt install openjdk-11-jre -y
  curl -fsSL https://pkg.jenkins.io/debian-stable/jenkins.io.key | sudo tee \
  /usr/share/keyrings/jenkins-keyring.as > /dev/null
  echo deb [signed-by=/usr/share/keyrings/jenkins-keyring.asc]
  https://pkg.jenkins.io/debian-stable binary/ | sudo tee \
   /etc/apt/sources.list.d/jenkins.list >  /dev/null
  sudo apt-get update
  sudo apt-get install jenkins -y
  sudo systemctl enable jenkins
  sudo systemctl start jenkins
  sudo systemctl status jenkins
  sudo apt-get install docker.io docker-compose -y
  sudo usermod-a-G docker $USER
  sudo usermod-a-G docker jenkins
  sudo reboot
Now Click on Launch Instance.
Once the instance is running, SSH into it to gain command-line access.
Enter docker --version and jenkins --version to check whether docker or Jenkin is installed or not.


Click on newly made instance and click on the security group.
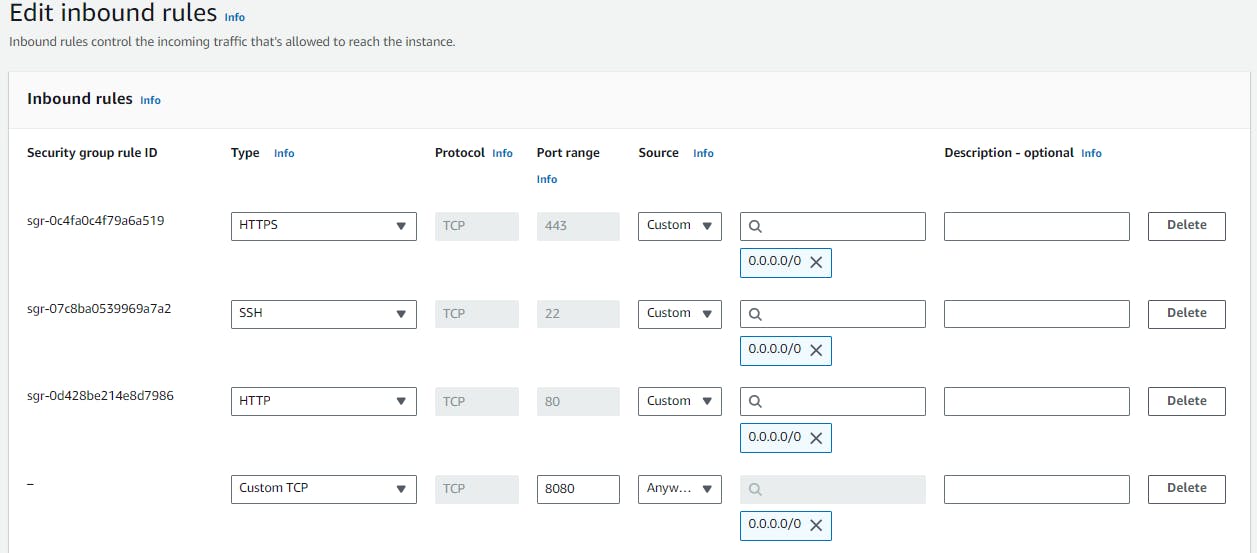
Click on “Edit inbound rules”.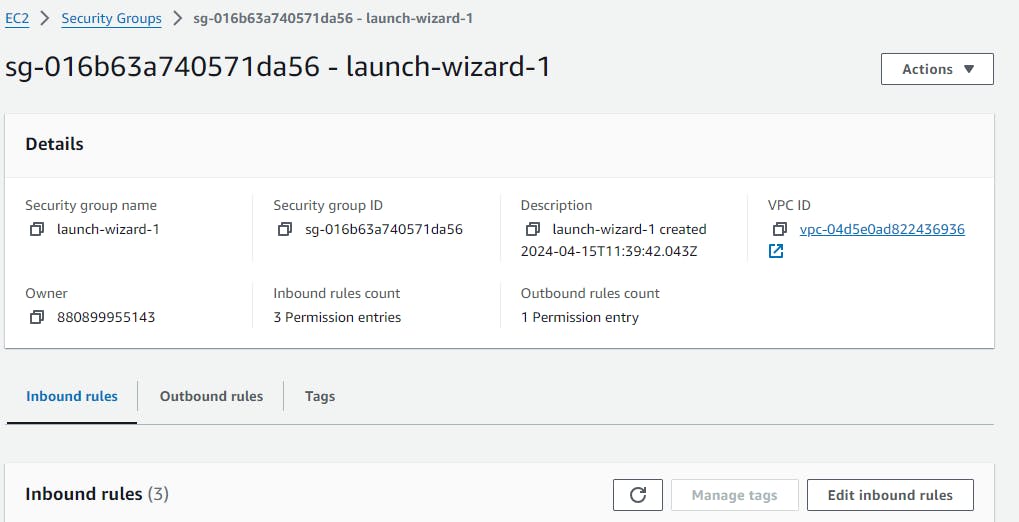
Click on “Add rule” and add type as “Custom TCP”, port range as “8080” and source range as “Anywhere-IPv4”. Click on “Save Rules”.
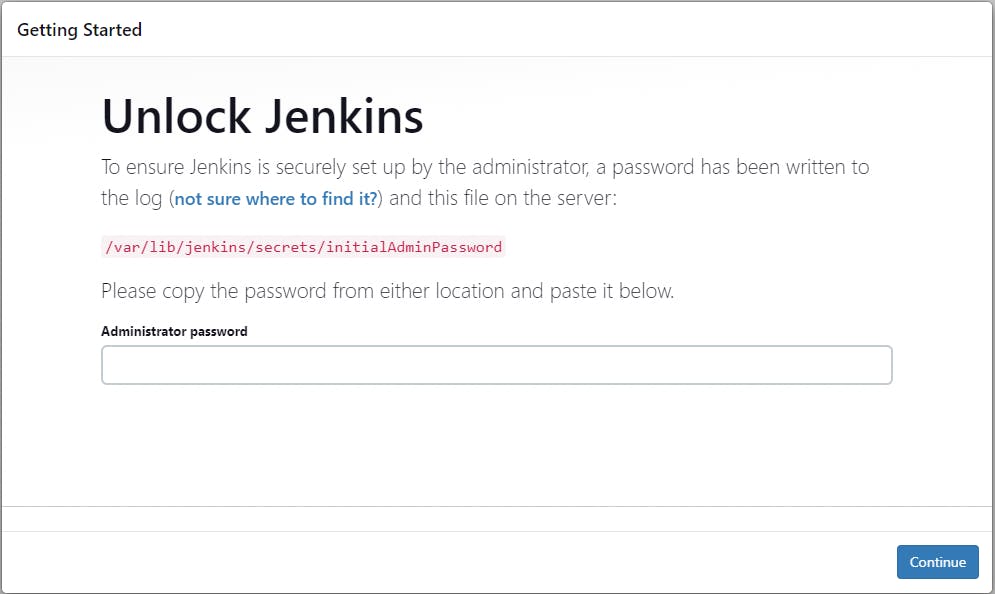
Navigate back to EC2 instance and click on Details and copy “Public IPv4 address” and paste it adding “:8080” at the end of it.
PermalinkTask 2: Building a DevOps Team with IAM Users and Groups
Now, let's assemble our DevOps dream team, the Avengers of AWS:
Create IAM Users:
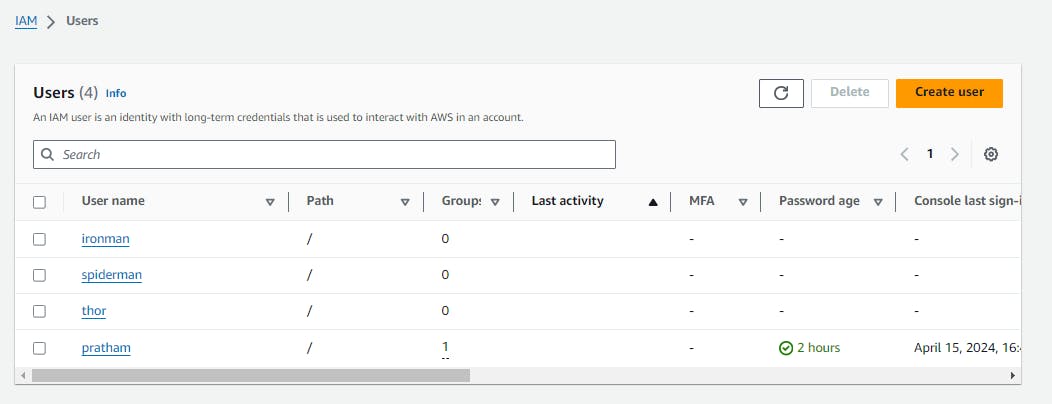
Head back to IAM in the AWS Management Console.
Create three IAM users named after your favorite Avengers characters.
Ensure each user has "Programmatic access" enabled.
Assign Users to DevOps Group:
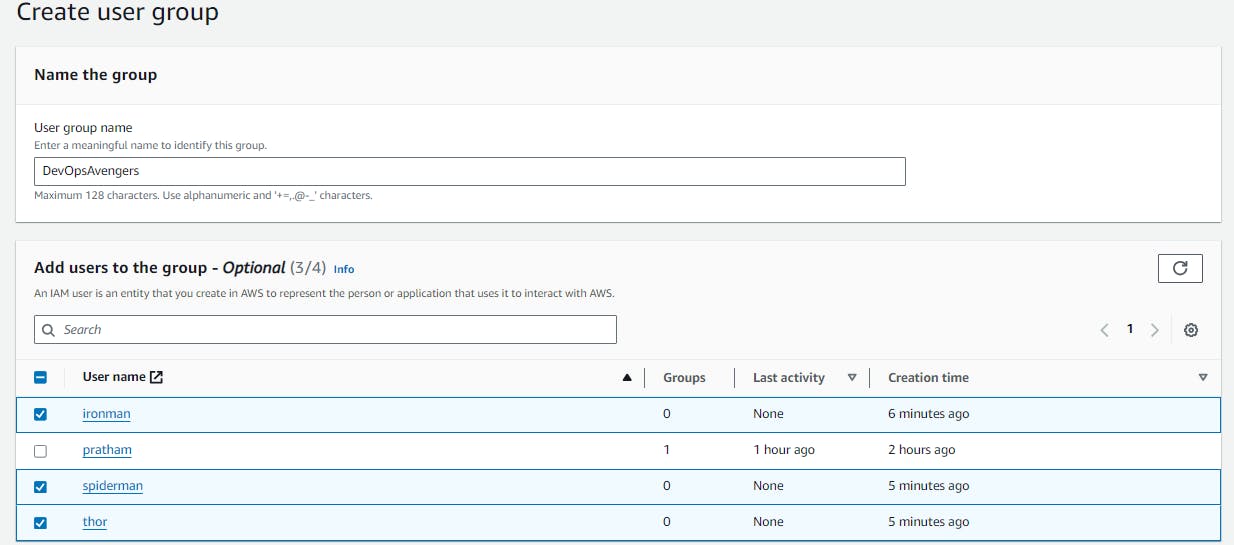
Create a new IAM group named "DevOpsAvengers" (or a name of your choice).
Attach a custom IAM policy to this group, granting permissions relevant to DevOps tasks (e.g., EC2).
Add the three Avengers IAM users to this group.
PermalinkConclusion
In this journey through AWS basics, you've explored IAM, created users, launched instances, and orchestrated a DevOps team—all within the AWS ecosystem. Remember, AWS offers a vast playground of services waiting to be explored, making it an exciting platform for continuous learning and innovation.
PermalinkI'm confident that this article will prove to be valuable, helping you discover new insights and learn something enriching .
thank you : )
